A Photographer’s Guide to Colorado’s National Parks
Colorado’s national parks offer some of the most diverse landscapes in the United States, making them a dream destination for photographers of all skill levels. From towering mountain peaks to vast desert dunes, each park presents unique opportunities to capture nature’s beauty through the lens.
Whether you’re drawn to alpine lakes, red rock canyons, or sweeping sand dunes, Colorado has something for every photographer.
Why Colorado’s National Parks Are a Photographer’s Paradise
Each park features a distinct environment that challenges and rewards photographers:
-
Rocky Mountain National Park – Majestic peaks, wildlife, and pristine alpine lakes.
-
Colorado National Monument – Dramatic canyon views, sunrise vantage points, and stunning red rock formations.
-
Great Sand Dunes National Park – The tallest sand dunes in North America, framed by the Sangre de Cristo Mountains.
What This Guide Covers
This guide will help you plan your trip and maximize your photography experience by covering:
- Best Photography Locations – Where to find the most breathtaking landscapes in each park.
- Lighting & Timing – Tips on capturing the perfect golden hour and blue hour shots.
- Wildlife & Nature Photography – How to photograph elk, bighorn sheep, and other wildlife safely.
- Gear & Composition Tips – The best camera settings, lenses, and framing techniques to use.
Whether you’re a seasoned professional or just starting out, this guide will ensure you come home with stunning images that showcase the beauty of Colorado’s national parks.
Read next: 8 Most Stunning Parks in Boulder County, According to Photographers
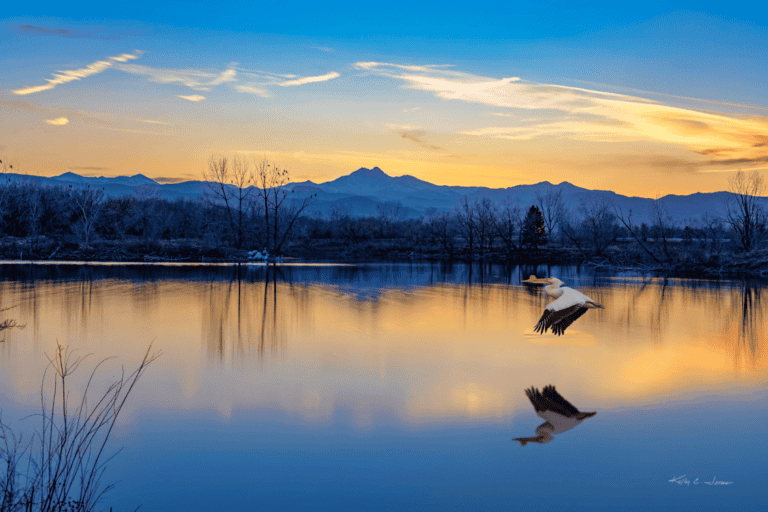
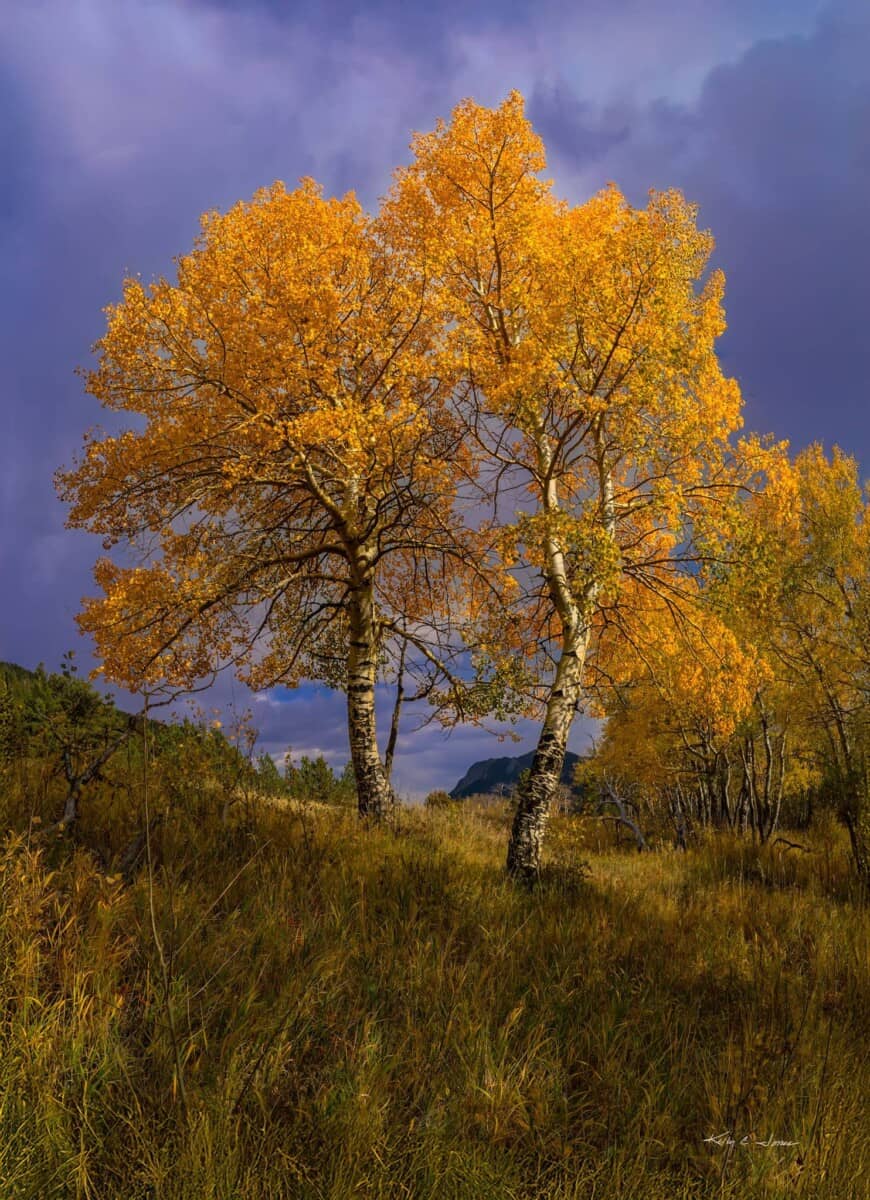
Rocky Mountain National Park
Rocky Mountain National Park is a photographer’s dream, offering rugged mountain peaks, pristine alpine lakes, and diverse wildlife. Whether you’re after golden-hour landscapes, dynamic waterfalls, or intimate wildlife portraits, this stunning park provides the perfect backdrop.
Best Photography Locations
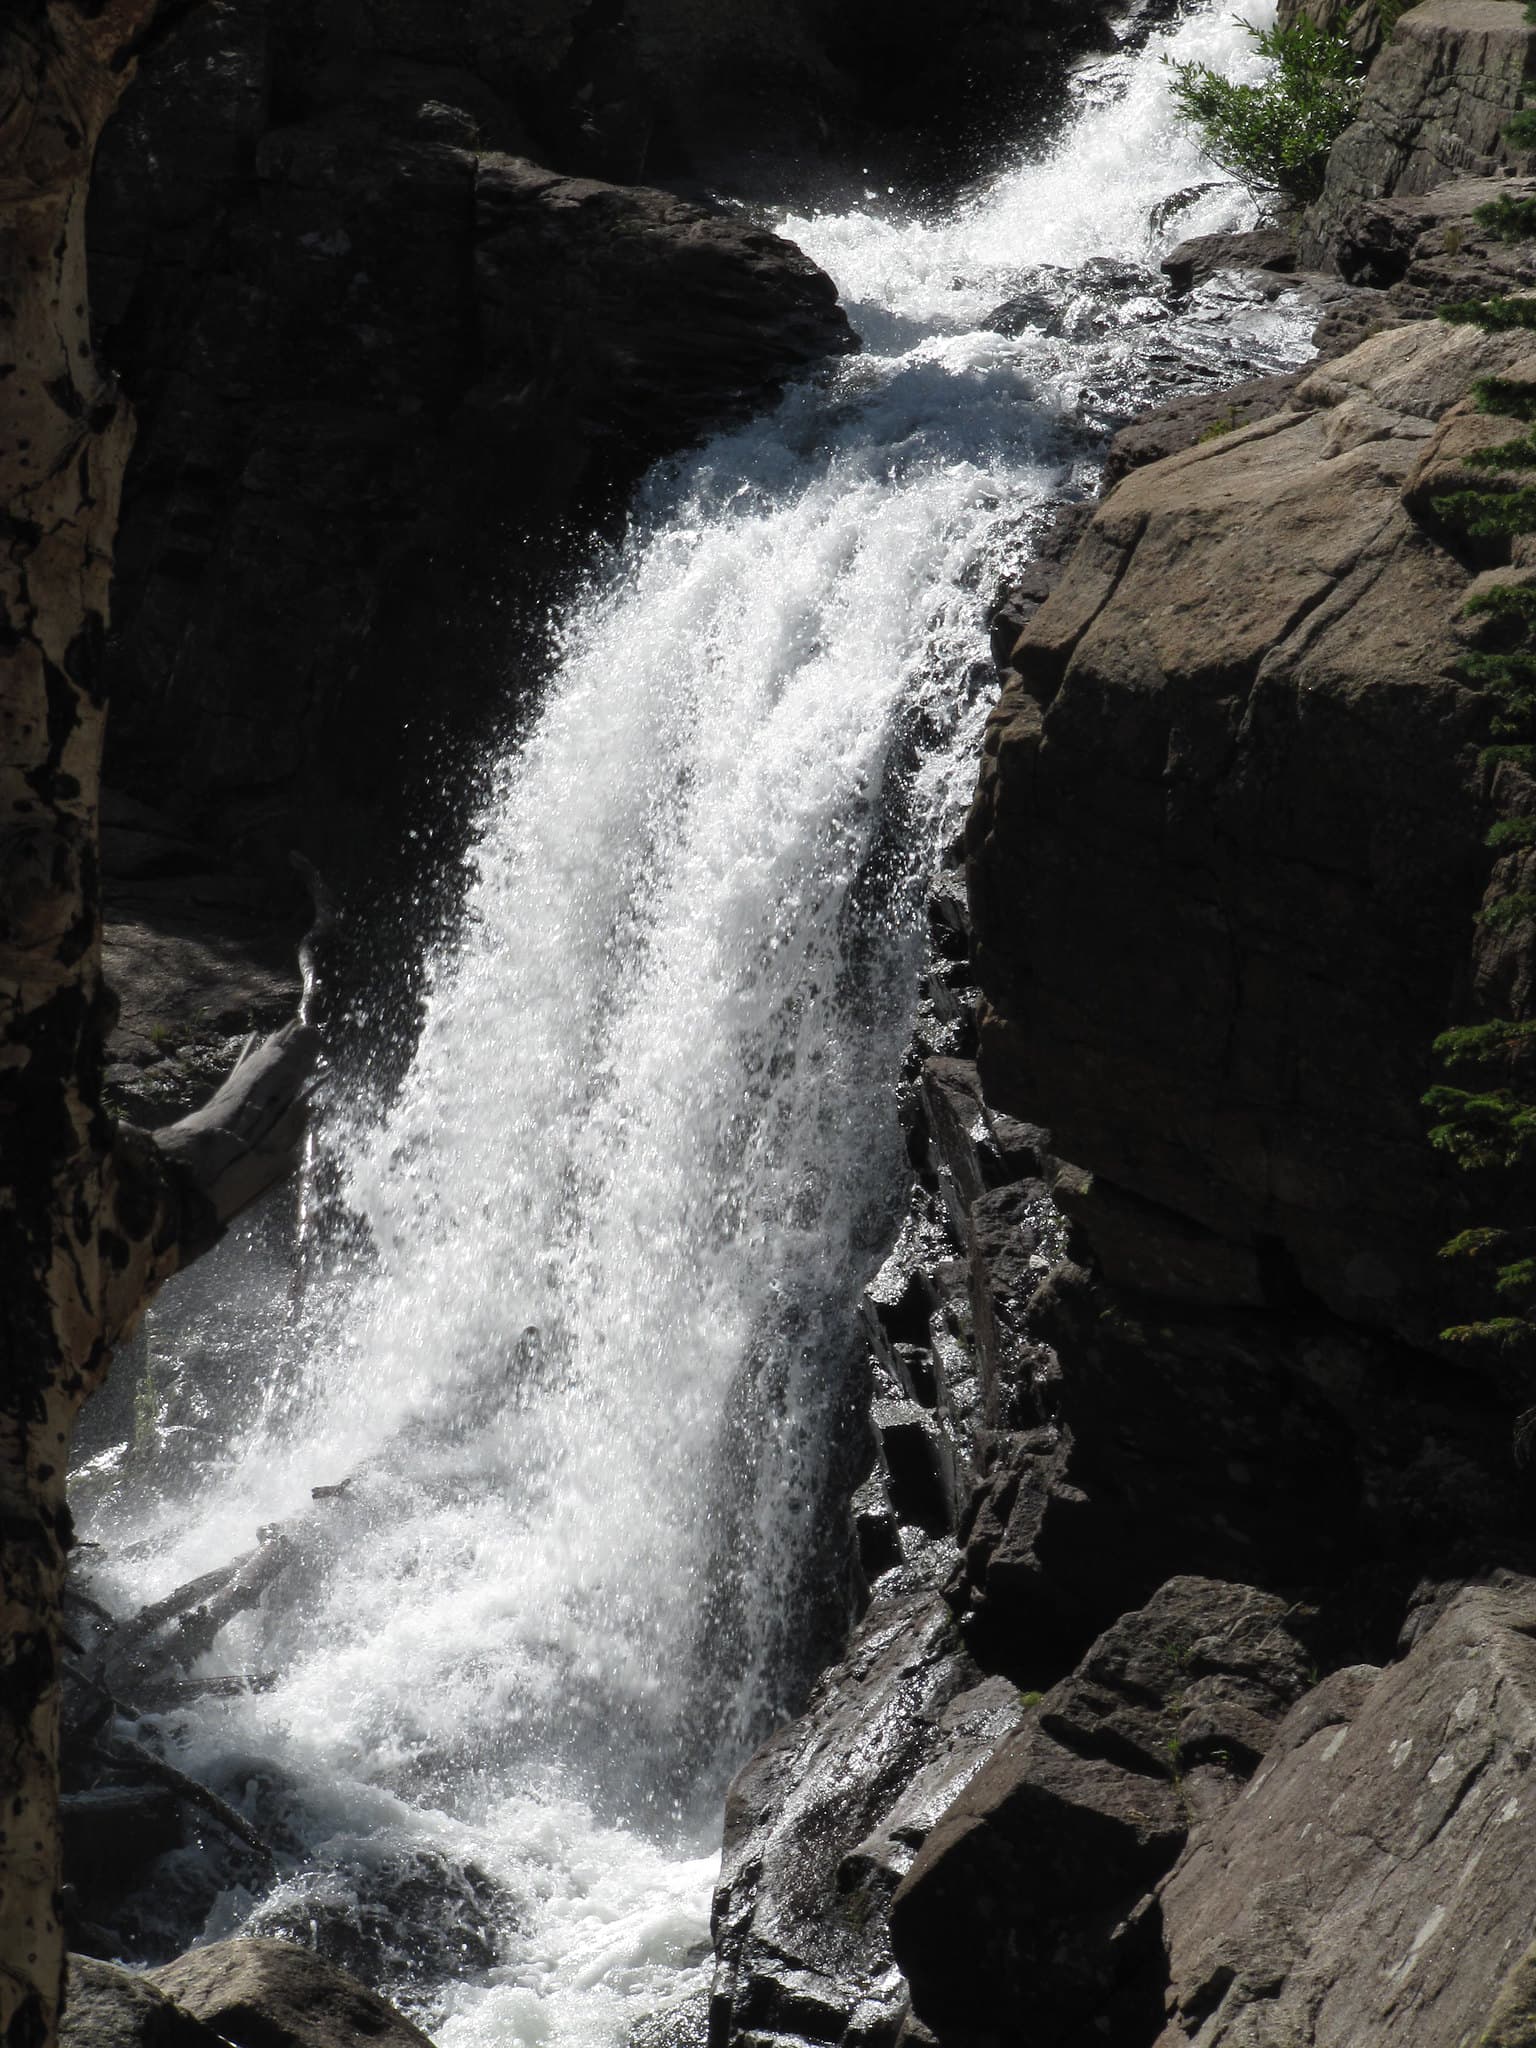
Photo by ricketyus | Used under creative commons license
Alberta Falls
One of the most accessible waterfalls in Rocky Mountain, Alberta Falls is an excellent location to practice long exposure photography.
-
Best time to visit: Early morning or late afternoon for soft light.
-
Tripod recommended for silky water effects using a slow shutter speed.
-
Use a polarizing filter to reduce glare and enhance water clarity.
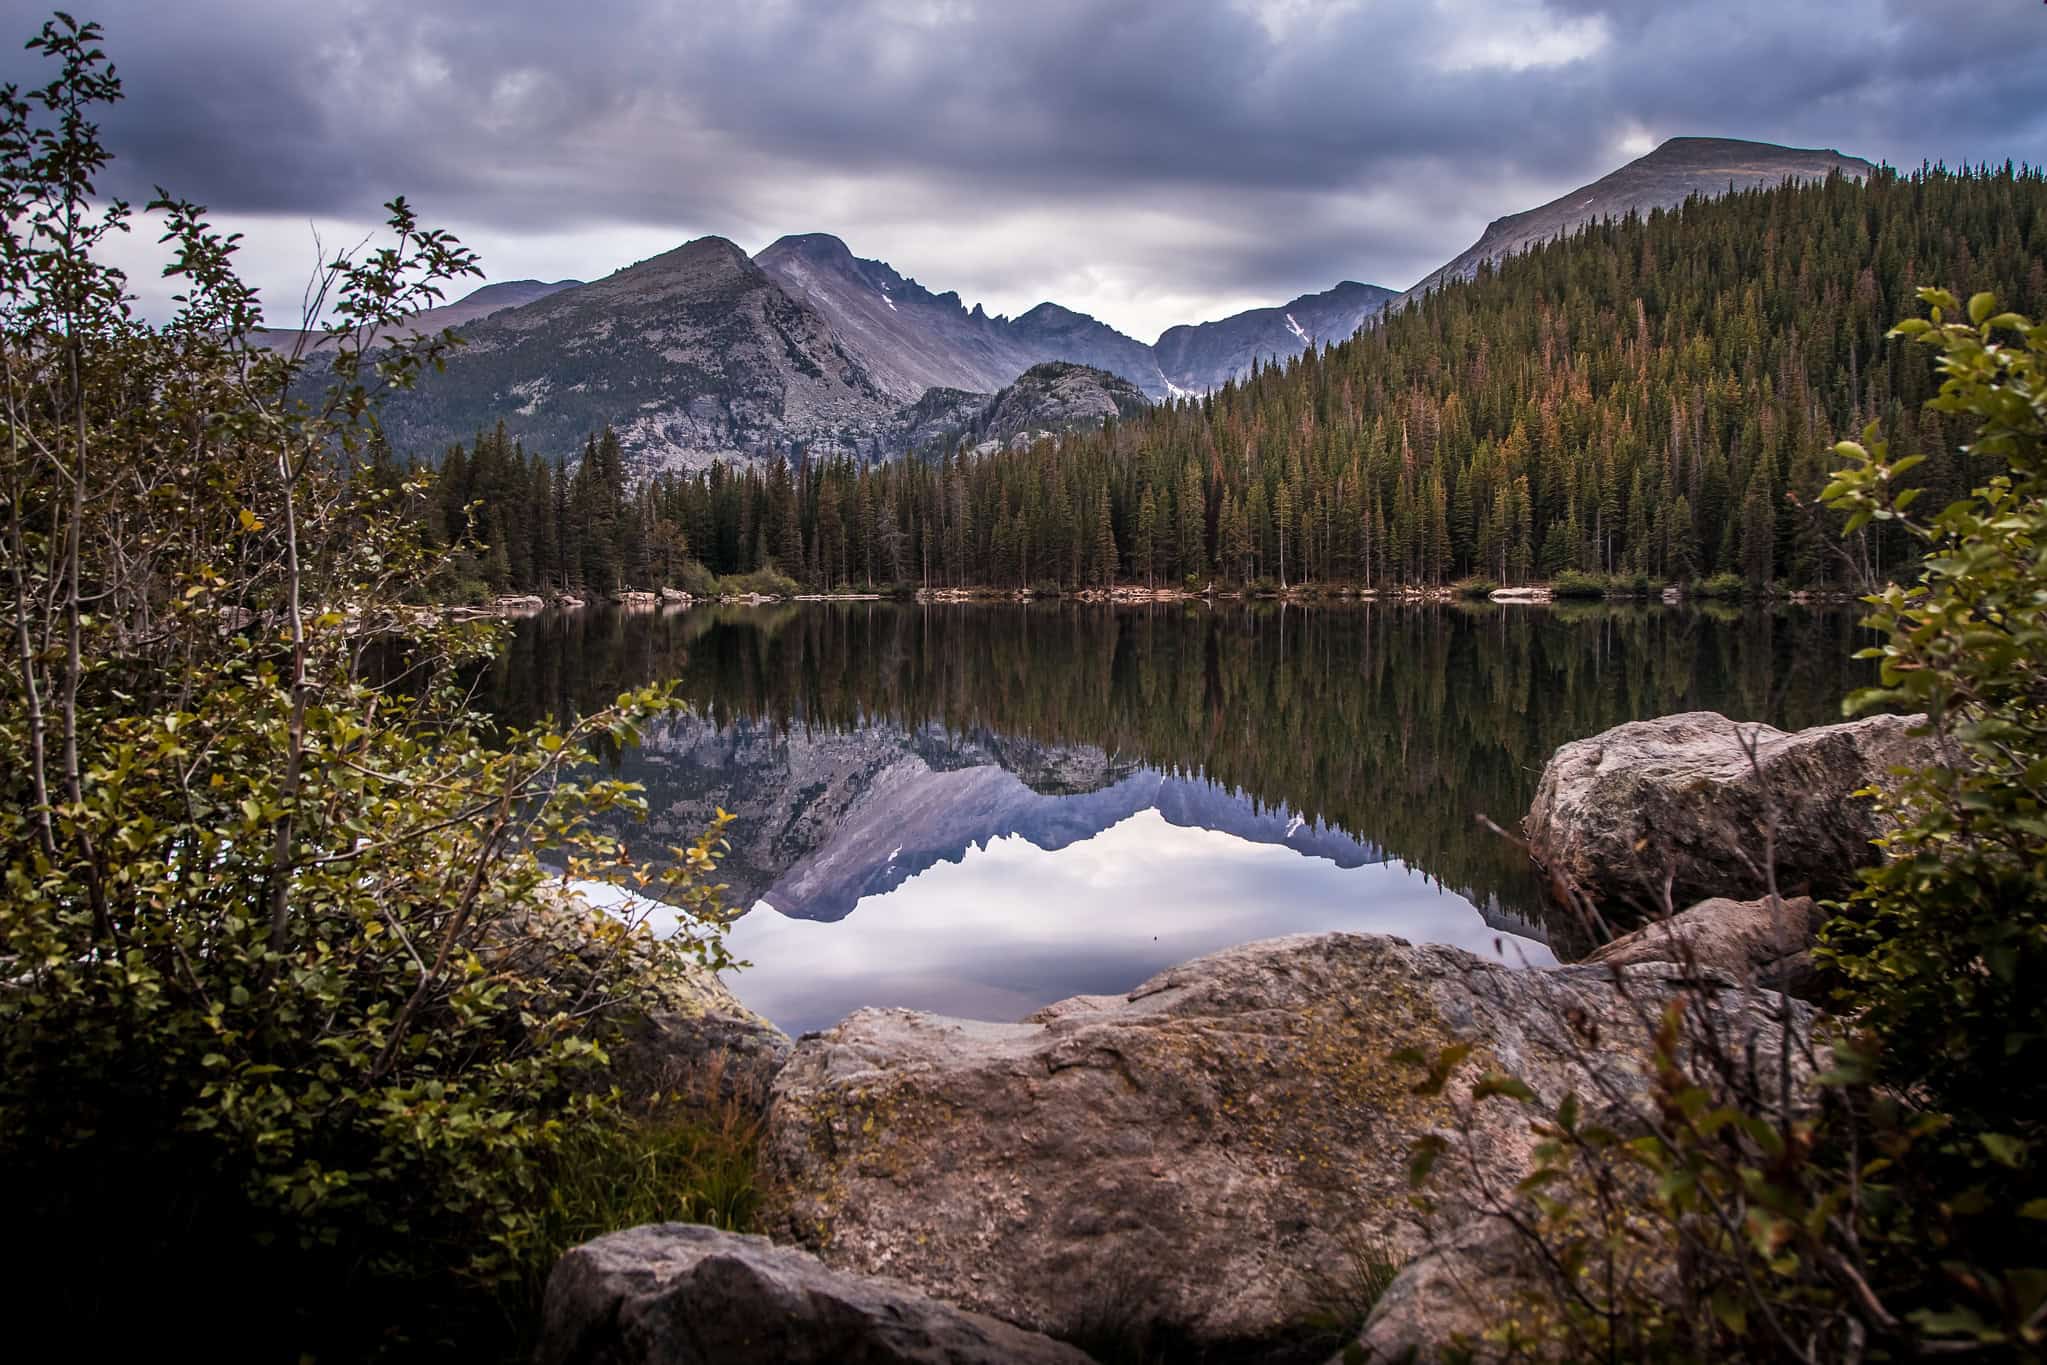
Photo by Christian Collins | Used under creative commons license
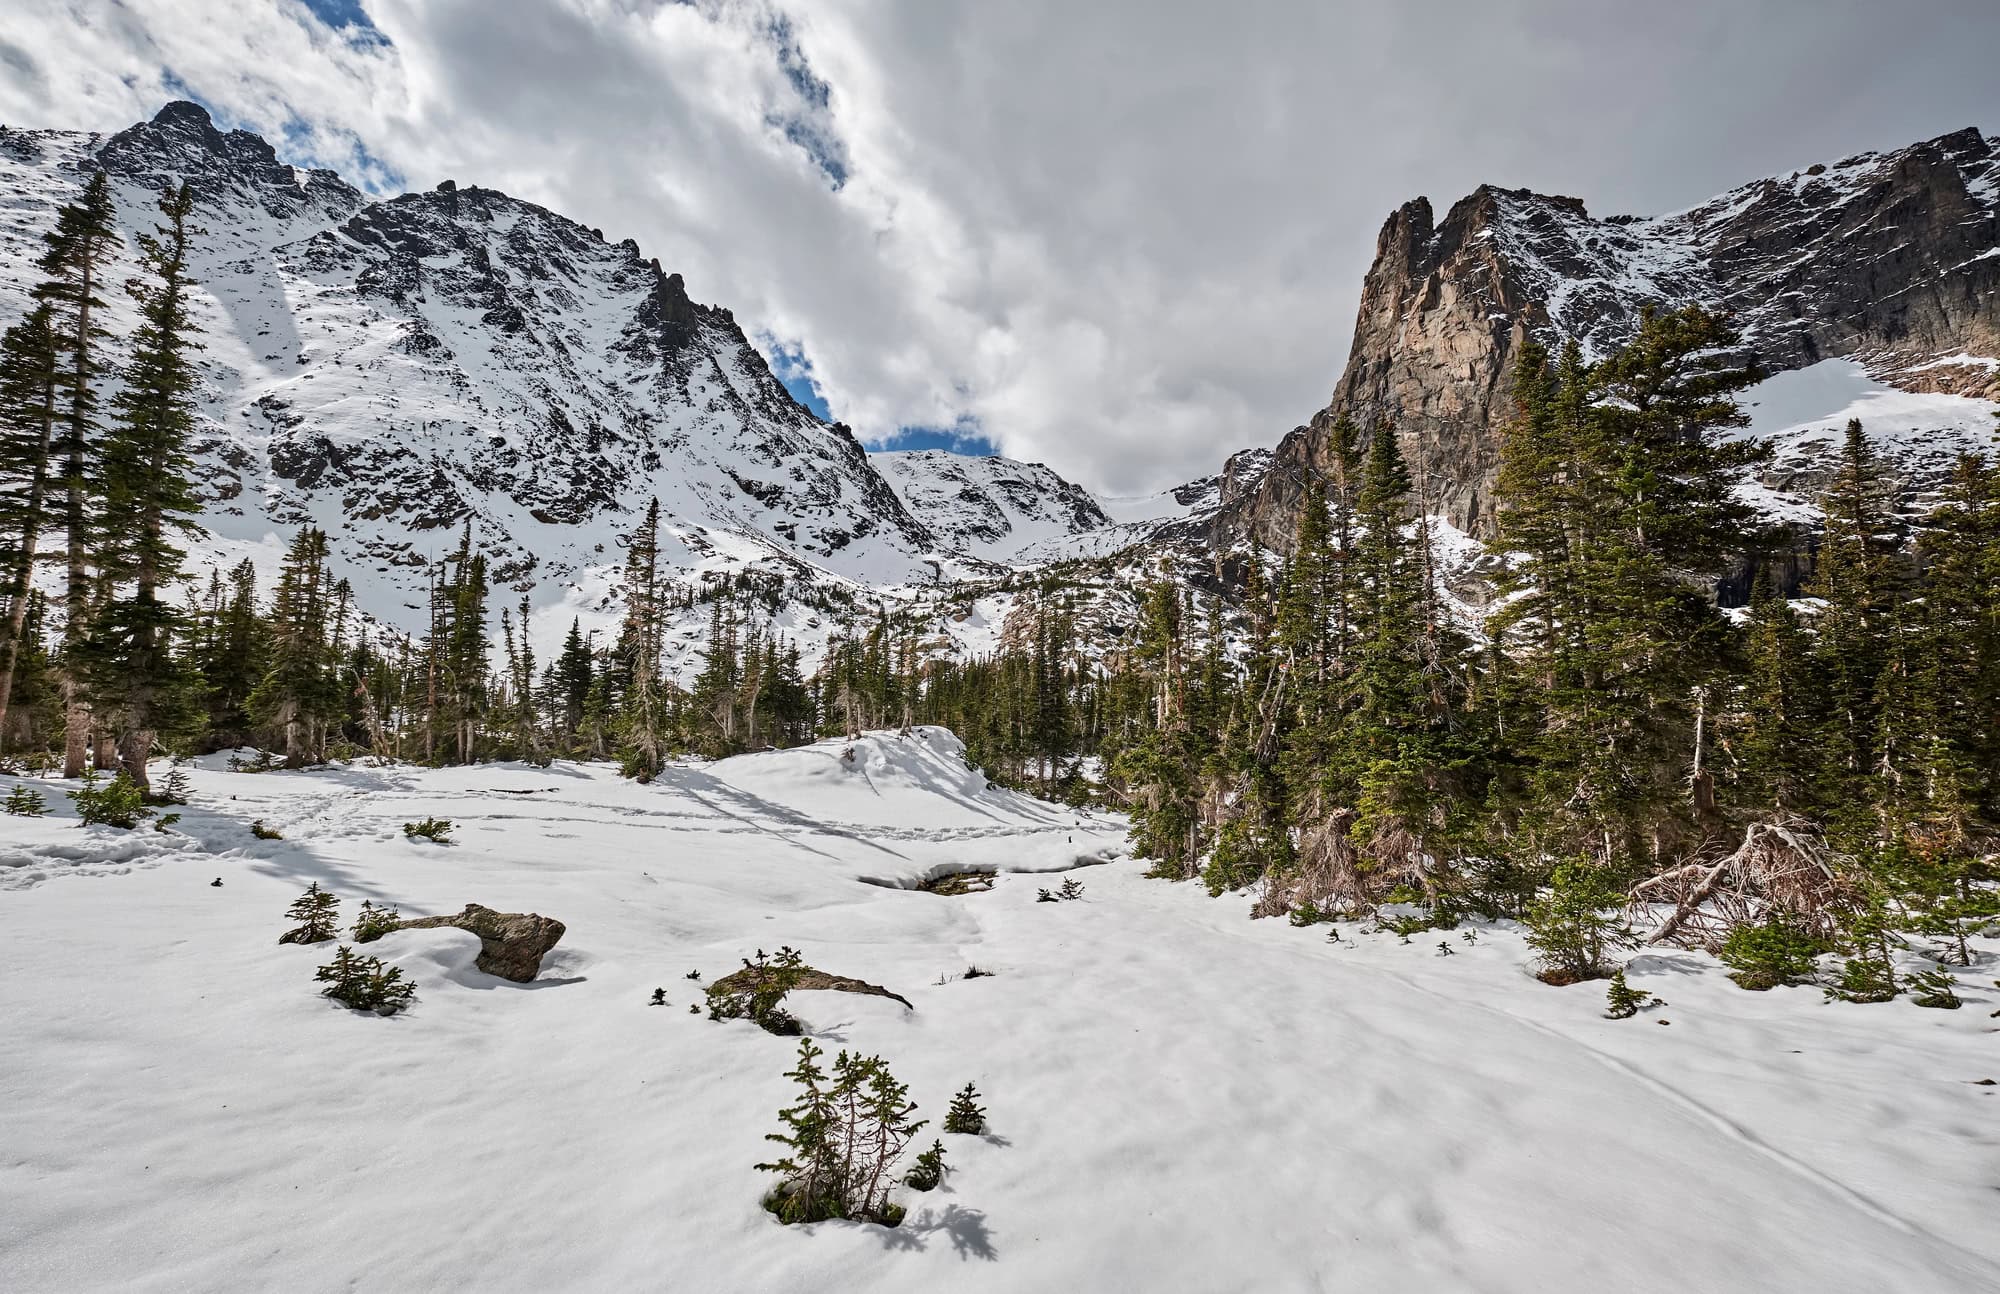
Bear Lake & Dream Lake
For crystal-clear reflections of the Rocky Mountains, Bear Lake and Dream Lake are must-visit spots.
|
Lake |
Best Time for Photography |
Key Features |
|
Bear Lake |
Dawn – Still water for perfect reflections |
Framed by snow-capped peaks |
|
Dream Lake |
Sunrise – First light on Hallett Peak |
Frozen in winter for ice formations |
-
Arrive before sunrise to set up your shot.
-
Use a wide-angle lens for dramatic compositions.
Moraine Park – Wildlife Photography with Elk & Bighorn Sheep
Moraine Park is a wildlife hotspot, especially during the fall elk rut.
-
Best season: September – October for elk, summer for bighorn sheep.
-
Ideal time: Early morning or dusk when animals are most active.
-
Use a telephoto lens (200mm+) to capture close-up details without disturbing the wildlife.

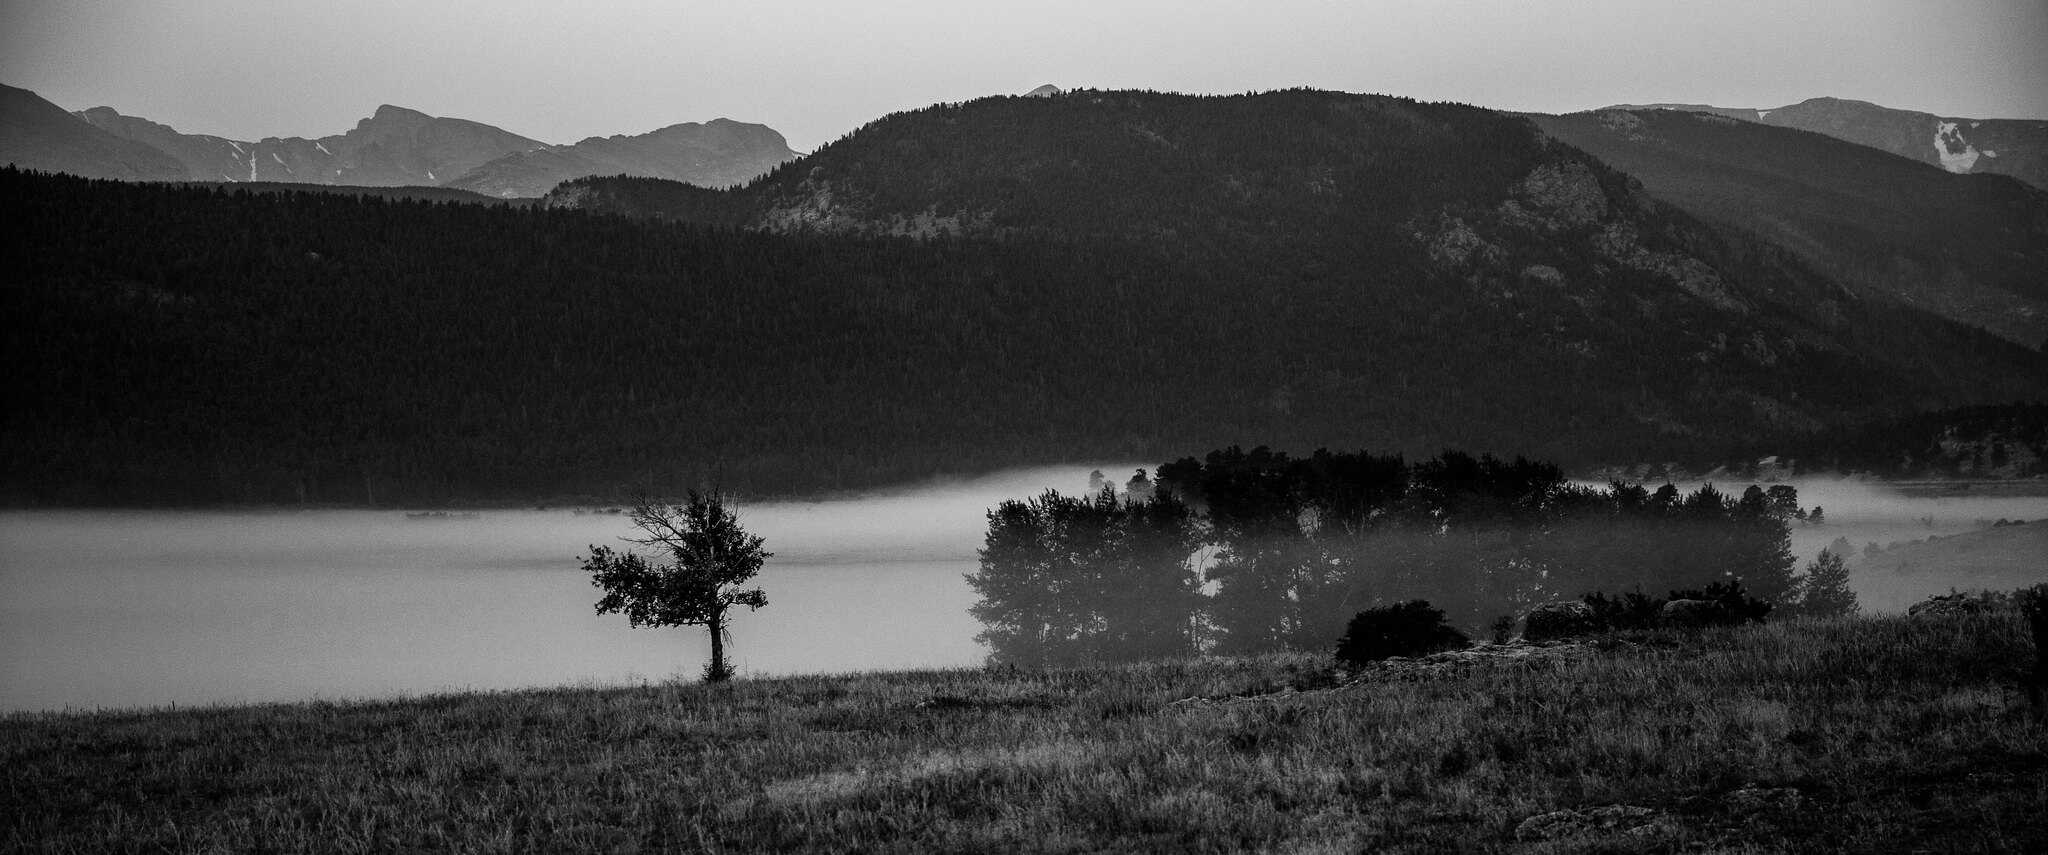
Photo by adifferentbrian | Used under creative commons license
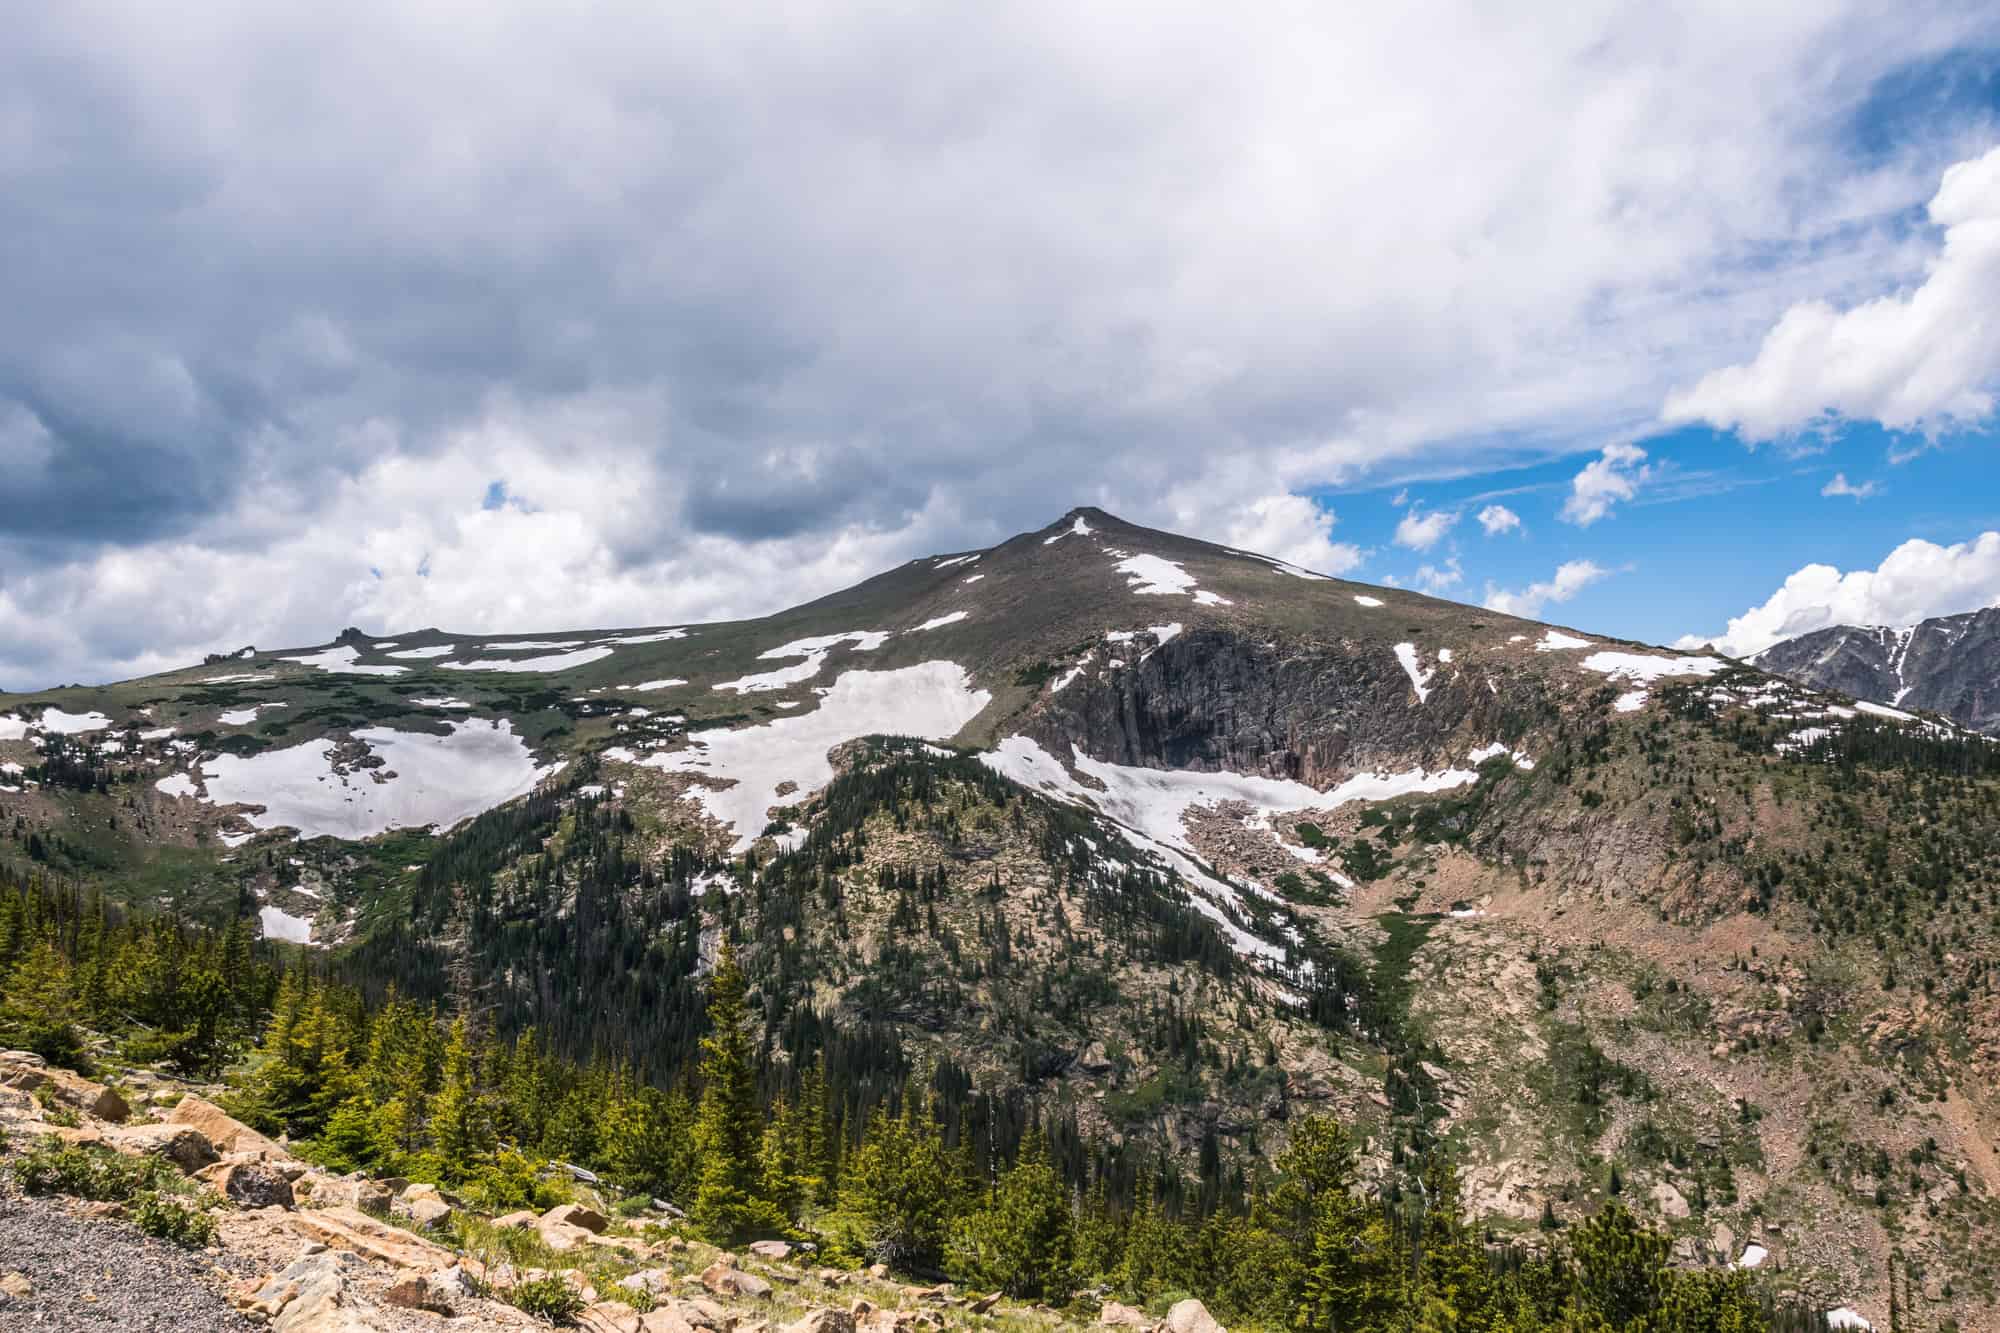
Trail Ridge Road
This high-altitude highway offers panoramic landscapes above the treeline.
-
Best viewpoint: Forest Canyon Overlook for a sweeping mountain vista.
-
Sunset photography: Golden light over snow-dusted peaks.
-
Bring ND filters for balancing bright skies and shadowed valleys.
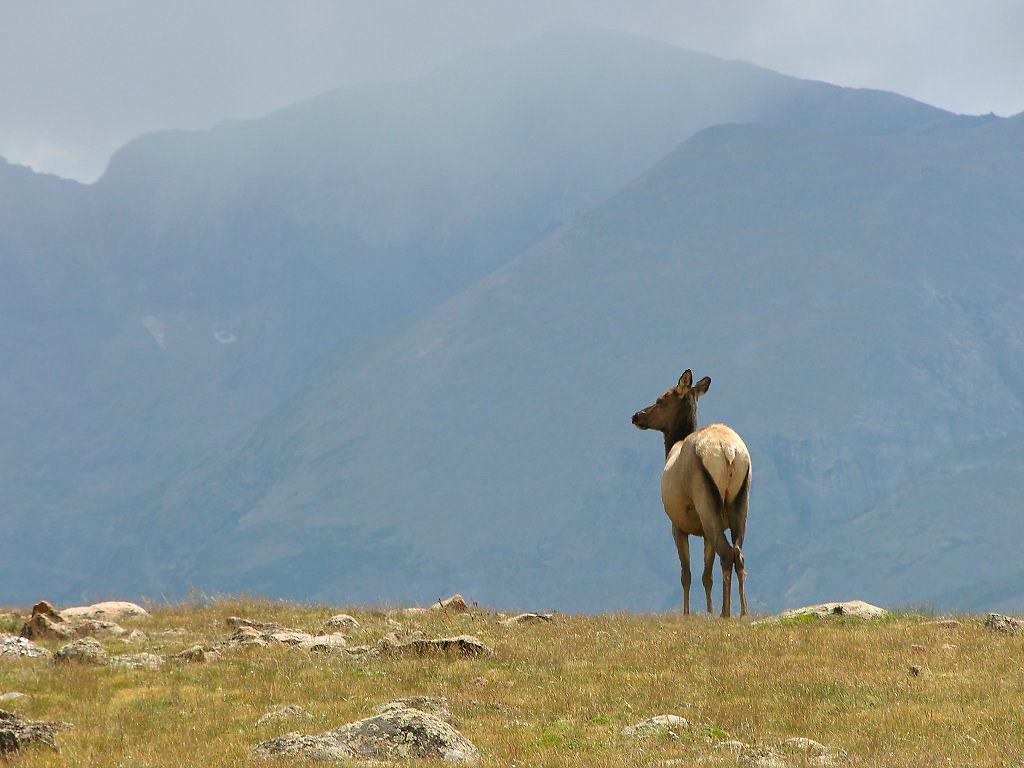
Photo by NPS/Marianne Tucker | Used under creative commons license
Wildlife Photography Tips
Capturing wildlife in Rocky Mountain National Park requires patience, timing, and the right equipment.
Best Seasons & Times for Wildlife Photography
-
Elk & Deer – September-October during the rut season.
-
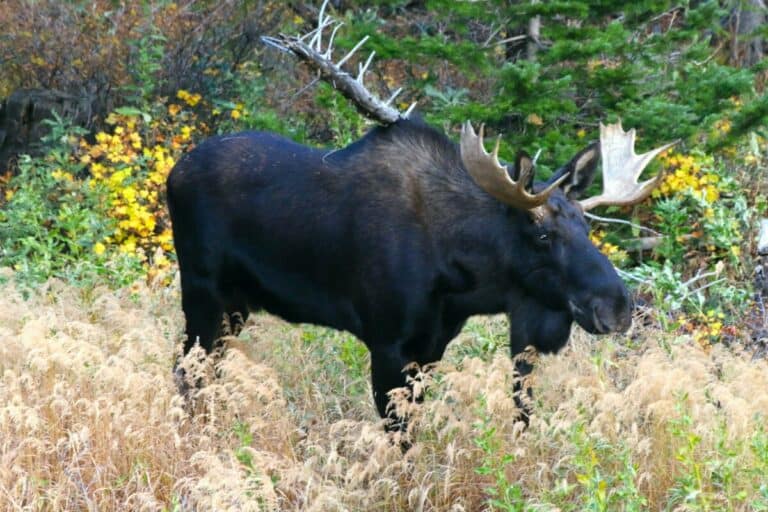
Moose – Best spotted near Sprague Lake in summer.
-
Bighorn Sheep – Seen in Moraine Park and Sheep Lakes in late spring.
|
Animal |
Best Viewing Location |
Best Time |
|
Elk |
Moraine Park |
Dawn & dusk |
|
Moose |
Sprague Lake |
Early morning |
|
Bighorn Sheep |
Sheep Lakes |
Mid-morning |
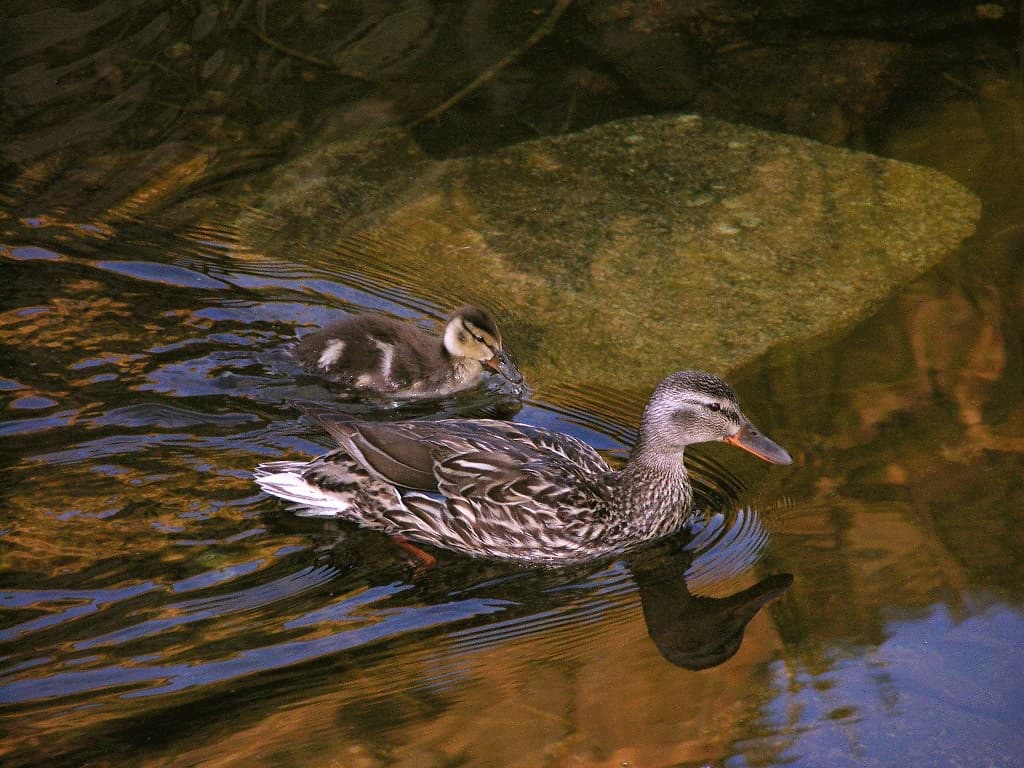
Photo by NPS/Marianne Tucker | Used under creative commons license
Camera Settings for Wildlife Photography
-
Shutter speed: 1/500s or faster to freeze motion.
-
Aperture: f/5.6 – f/8 for sharpness.
-
ISO: Adjust based on lighting, but keep below 1600 for noise control.
Pro Tip: Use silent shutter mode to avoid startling animals.
Ideal Lighting & Weather Conditions
Lighting is key to creating dramatic and well-balanced images in the national park.
Sunrise at Bear Lake – Golden Light on Peaks
-
Best time: Arrive 30 minutes before sunrise.
-
Key subject: Alpenglow on Hallett Peak.
-
Ideal settings: Wide-angle lens, f/11 for depth of field.
Sunset on Trail Ridge Road – Mountain Silhouettes
-
Golden hour: One hour before sunset for soft, warm tones.
-
Blue hour: After sunset for a cooler, dramatic effect.
-
Best viewpoint: Forest Canyon Overlook for an expansive view.
Pro Tip: Bring a tripod and remote shutter for long exposures during low-light conditions.
Permits Needed
Before embarking on your photography journey in Rocky Mountain National Park, it’s essential to understand the permit requirements to ensure a smooth experience.
All visitors, including photographers, are required to pay the standard entrance fees.
During peak seasons (May through October), the park implements a Timed Entry Permit System. Make sure you get the necessary permits in advance to access the park during these times.
General Photography
-
No Permit Required: For most visitors engaging in personal or professional photography without the use of models, sets, or props, no permit is necessary.
Commercial Photography
-
Permit Required: If your photography involves models, sets, or props that are not part of the park’s natural or cultural resources, you must obtain a Commercial Use Authorization (CUA).
Special Use Permits
-
Ceremonies and Events: If you’re photographing events such as weddings or elopements, a Special Use Permit is required.
Check regulations and prices through the National Park Service website, as rules and fees may change seasonally.
Rocky Mountain National Park is a top-tier photography destination, offering dramatic landscapes, abundant wildlife, and unparalleled alpine beauty. Whether capturing the early morning mist over Bear Lake or the last light on Trail Ridge Road, this breathtaking national park provides endless inspiration for photographers.
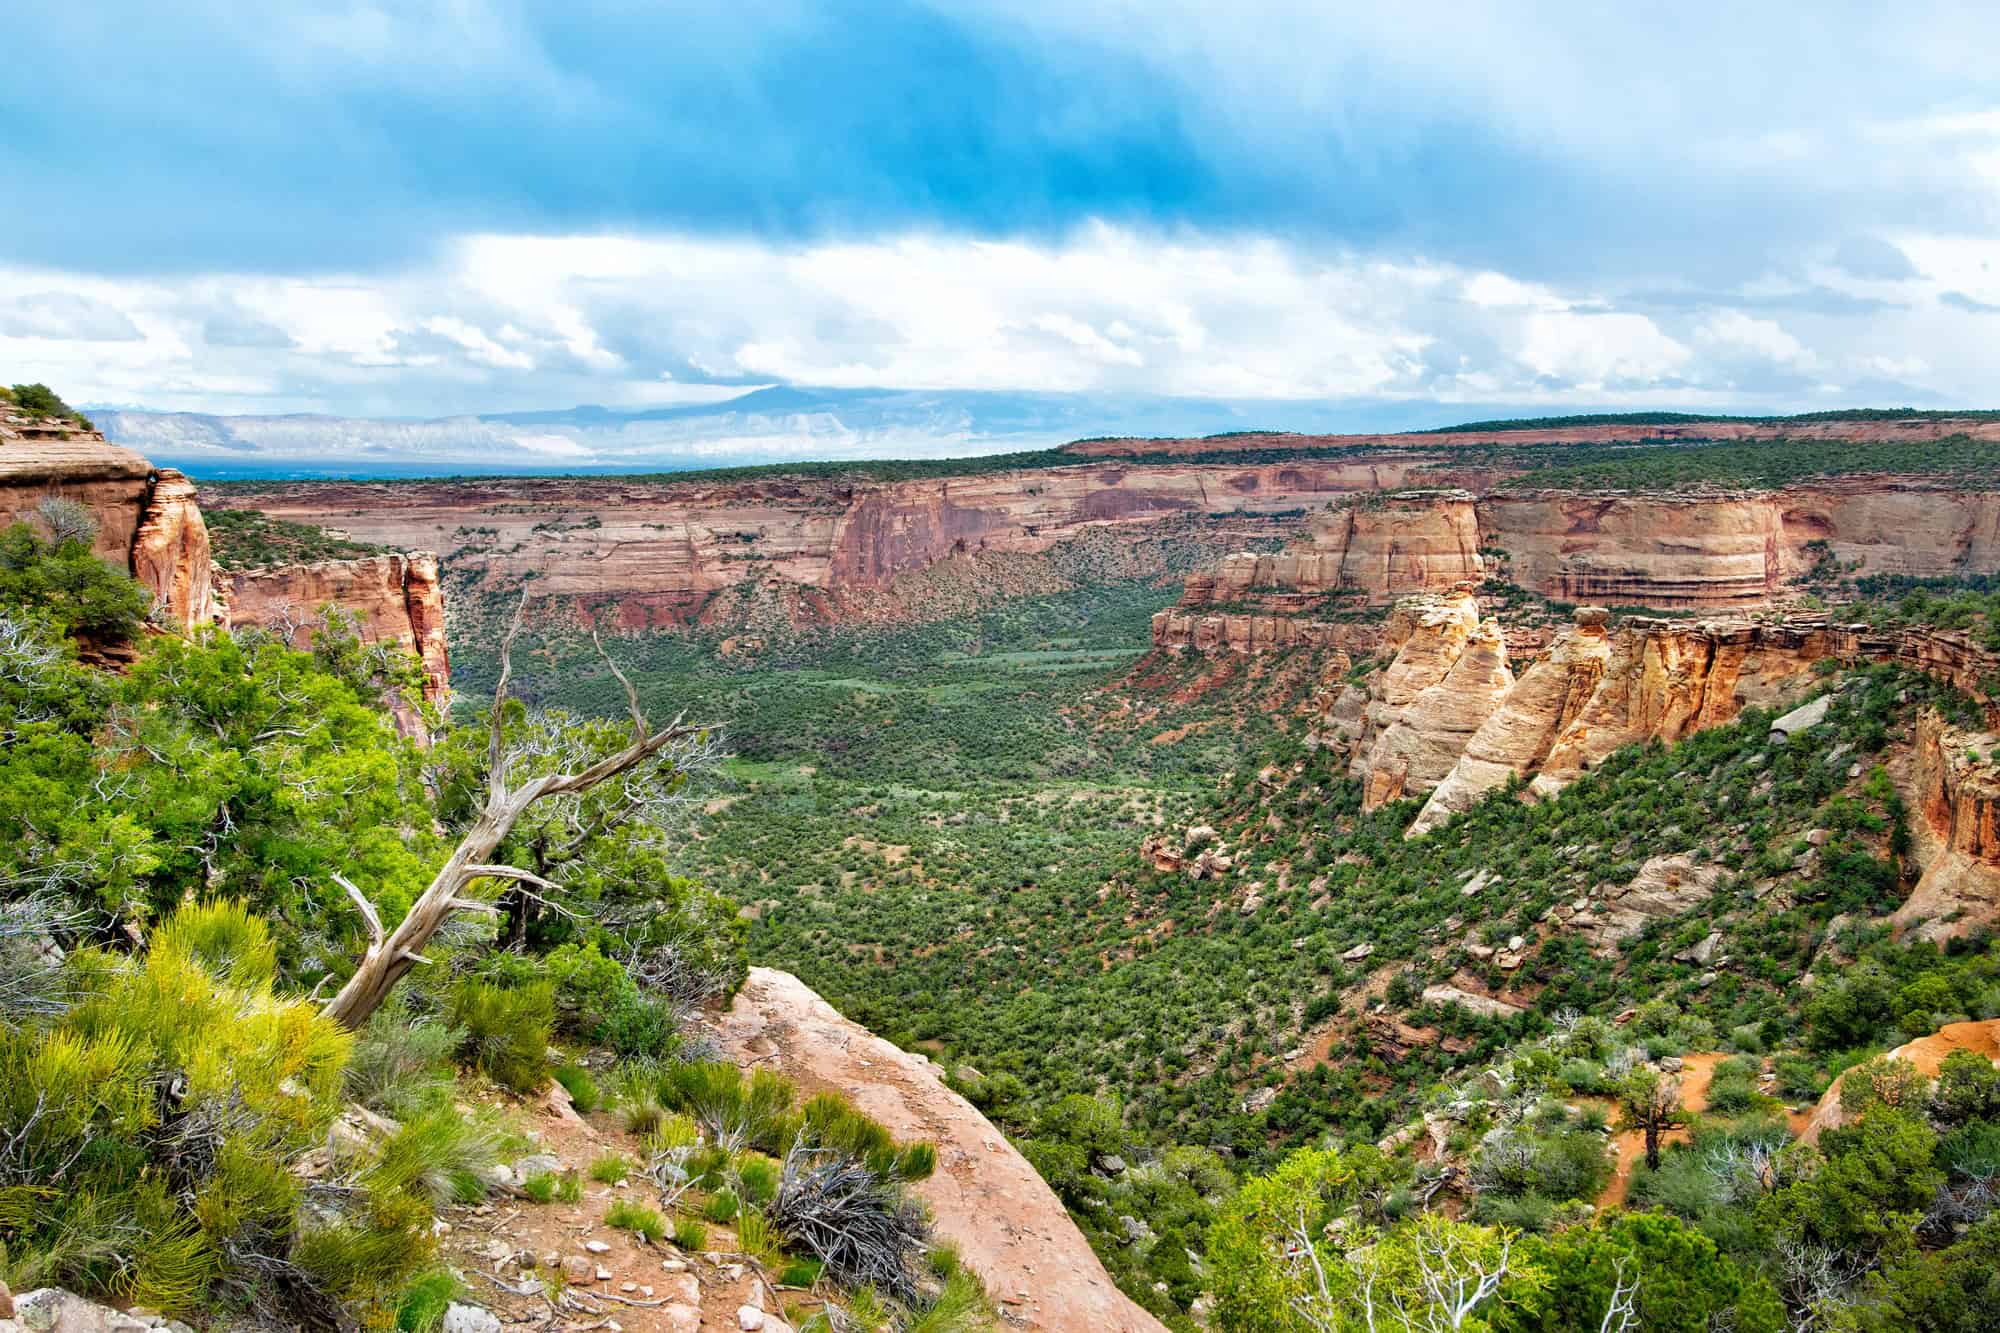
Colorado National Monument
Colorado National Monument offers a striking mix of deep canyons, towering monoliths, and expansive desert landscapes. This rugged terrain, located near Grand Junction, Colorado, is a hidden gem for photographers looking to capture the essence of the American West. Whether you’re photographing sunrise-lit cliffs, golden-hour canyons, or a pristine night sky, this park delivers breathtaking views and dynamic compositions.
Iconic Viewpoints for Photography
Colorado National Monument is home to some of the most scenic viewpoints in the state. These locations provide ideal lighting conditions for capturing the rich reds, oranges, and purples of the canyon walls.
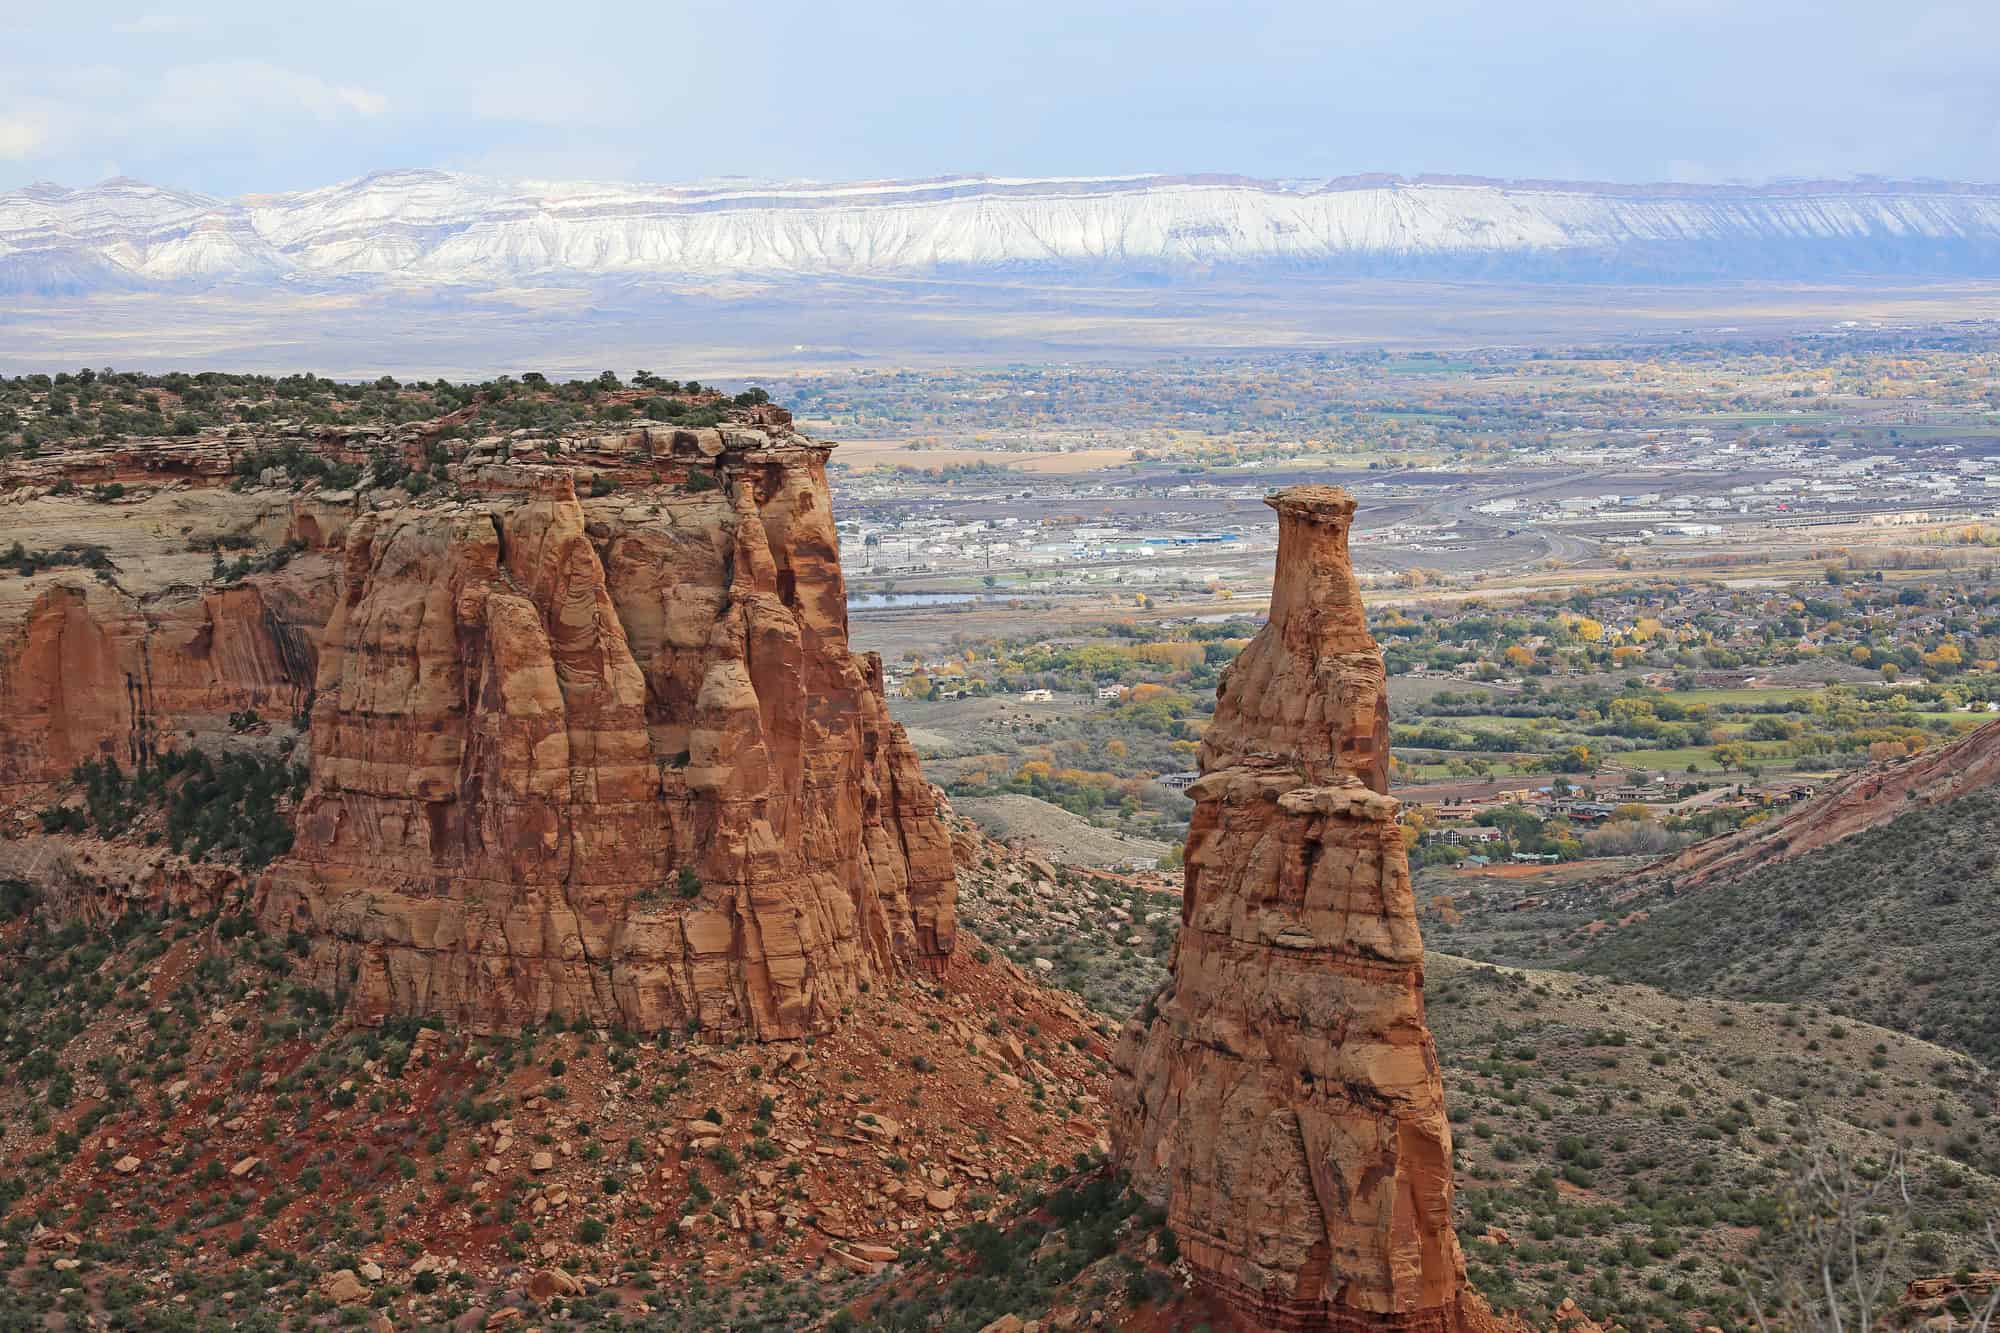
Independence Monument View – Sunrise Photography
-
Best time to shoot: Just before sunrise for golden light on the rock formations.
-
Features: A 300-foot-tall monolith standing against the backdrop of Fruita Canyon.
-
Pro tip: Use a telephoto lens to emphasize the rock’s towering height against the sky.
Grand View & Book Cliff View – Sunset and Golden Hour
-
Grand View offers wide-angle canyon shots with layered cliffs.
-
Book Cliff View is perfect for long-lens photography with warm light on the cliffs.
-
Golden hour tip: Shoot 30 minutes before sunset to capture rich colors.
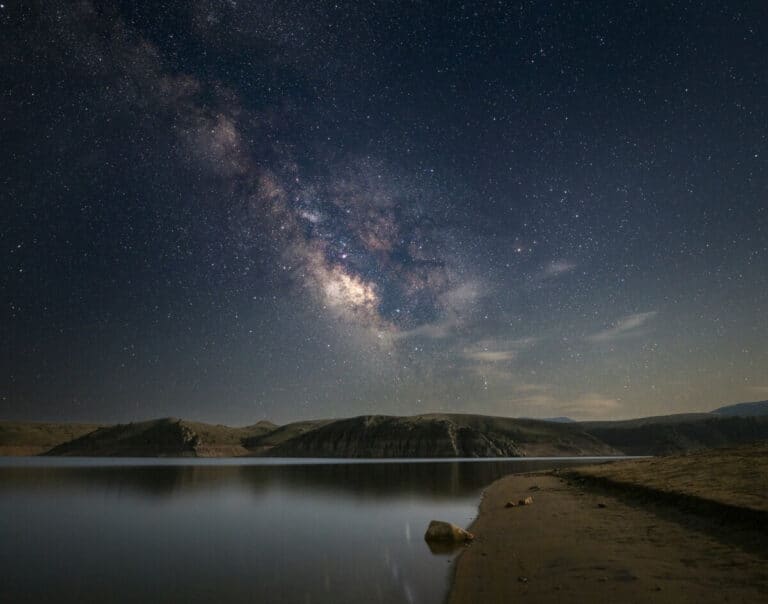
Saddlehorn Picnic Area – Night Sky Photography
-
One of the best dark-sky locations in the park.
-
Wide-open viewpoints provide unobstructed views of the Milky Way.
-
Bring a sturdy tripod and a fast wide-angle lens (f/2.8 or lower) for optimal results.

Composition Techniques for Canyon Shots
Photographing canyons and rock formations requires an understanding of depth and scale. Here are some tips to enhance your images:
-
Use foreground elements: Rocks, plants, or even a lone hiker can add depth and scale to your photos.
-
Leading lines: The curves of the canyons and natural rock layers make perfect leading lines to guide the viewer’s eye.
-
Frame with natural elements: Use arches, trees, or rock formations to create a natural frame within your image.
-
Shoot from different elevations: Low-angle shots make rock formations look more imposing, while elevated viewpoints capture the canyon’s vastness.
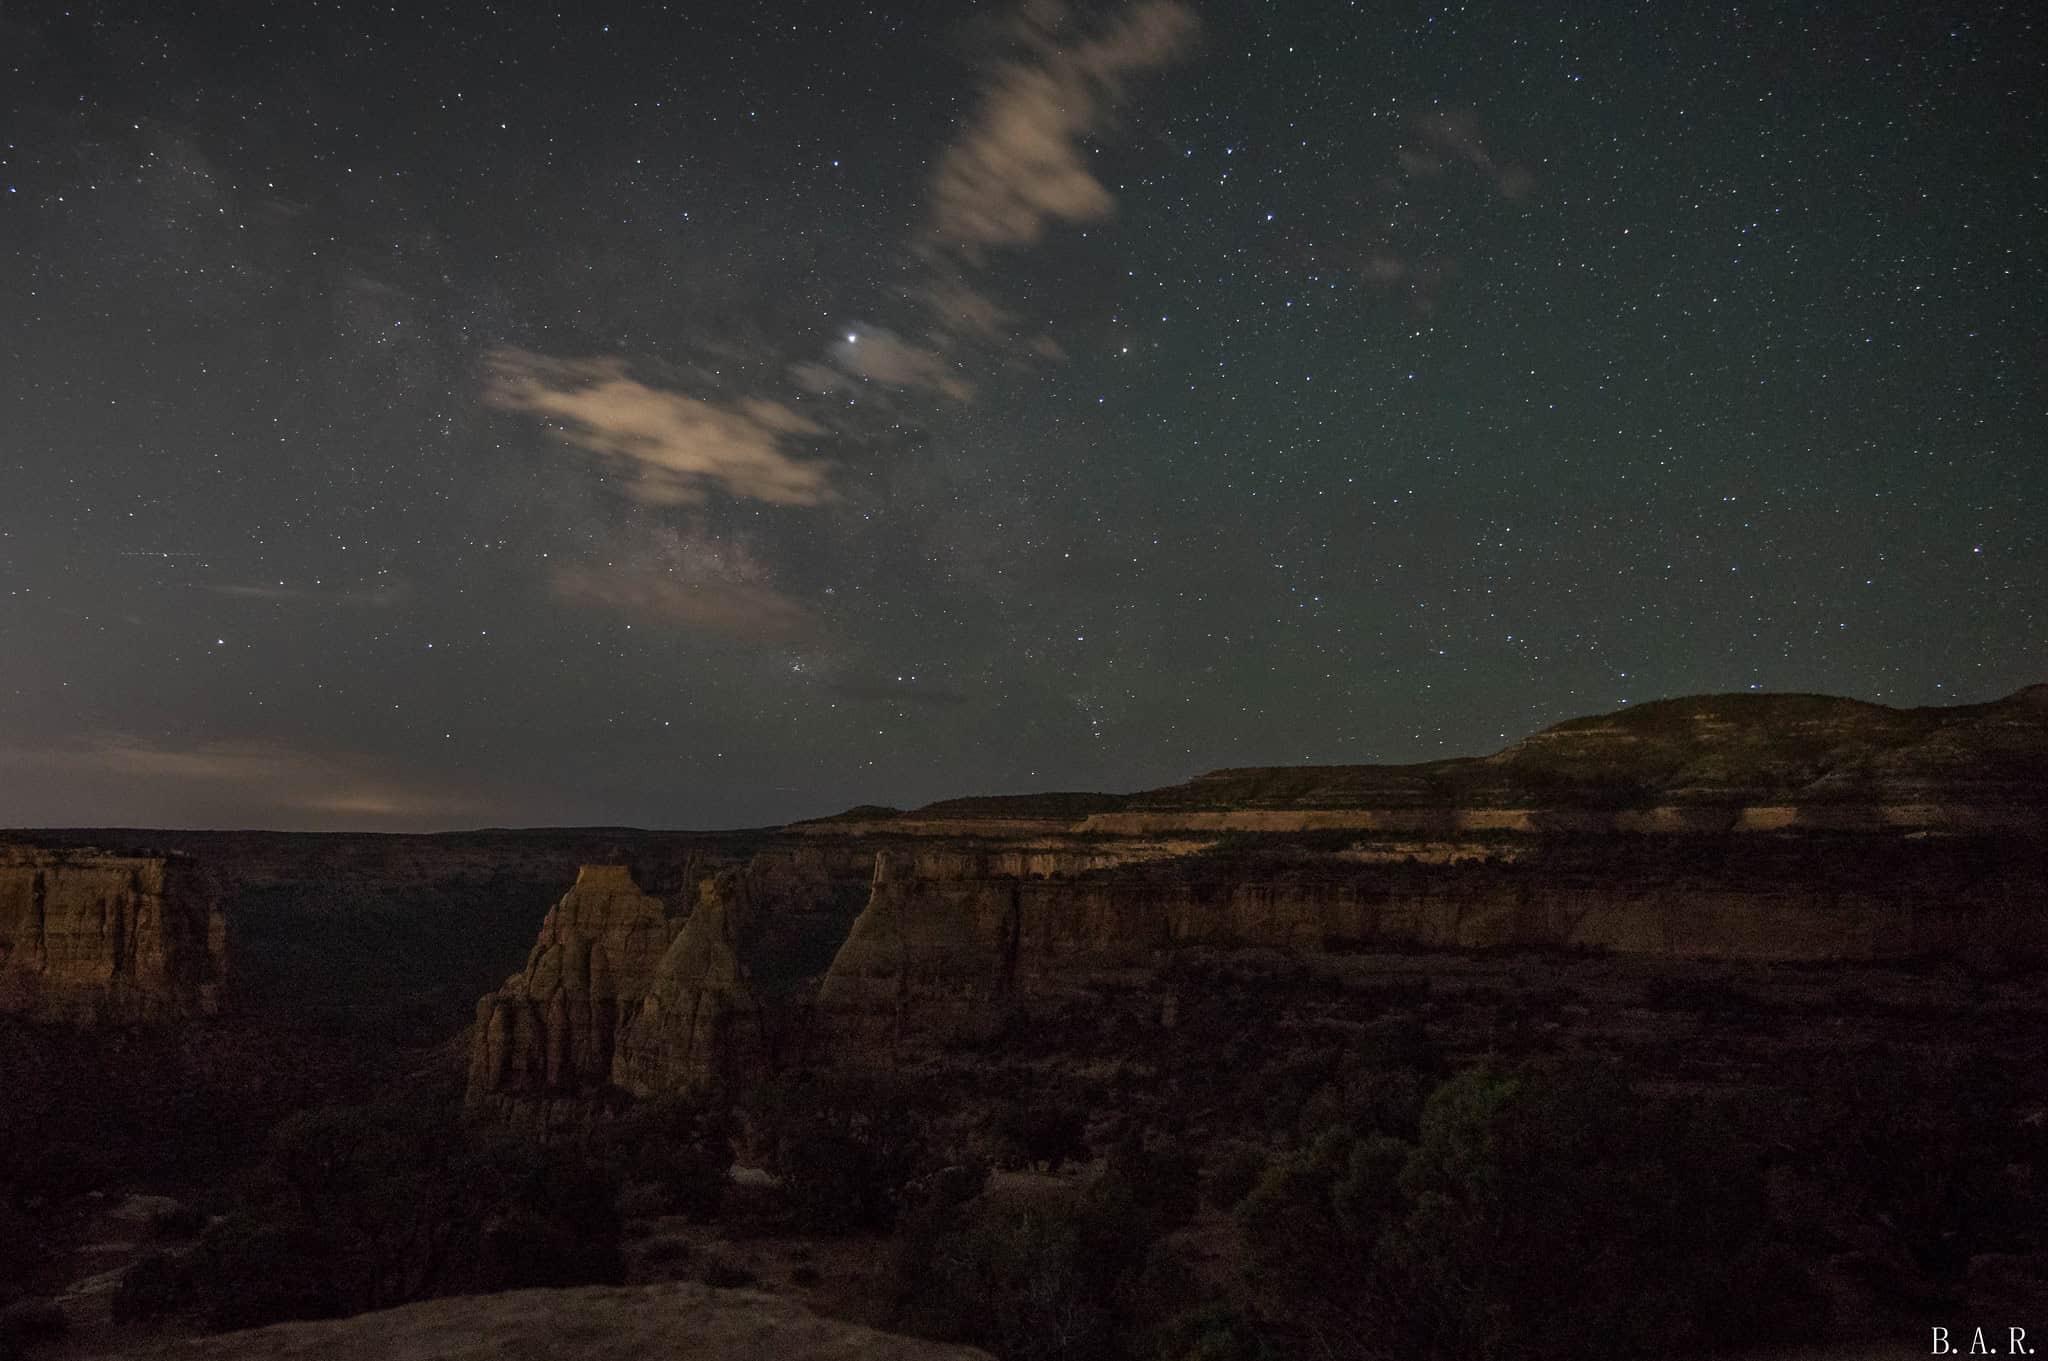
Photo by Brady Riemenschneider | Used under creative commons license
Night Photography Tips
Colorado National Monument is one of the best locations in Colorado for night sky photography, thanks to minimal light pollution.
Capturing the Milky Way
-
Best season: Spring through early fall when the Milky Way core is visible.
-
Best time: Between midnight and 3 AM for peak visibility.
-
Ideal settings:
-
Aperture: f/2.8 or wider.
-
Shutter speed: 15-25 seconds.
-
ISO: 1600-3200 for better light capture.
-
Additional Tips for Star Photography
-
Use a headlamp with a red light to preserve night vision.
-
Set focus to manual and use live view mode to fine-tune sharpness.
-
Shoot RAW format for better post-processing flexibility.
-
Experiment with light painting by briefly illuminating foreground rocks with a low-power flashlight.
Permits Needed
Before planning a professional or commercial photography shoot at Colorado National Monument, check if you need a permit.
Entry Fees & Access
|
Permit Type |
Price |
Processing Time |
|
Standard Vehicle Entry |
$25 per vehicle |
Immediate |
|
Annual Park Pass |
$45 |
Immediate |
|
Commercial Use Authorization (CUA) |
Varies |
4-6 weeks processing time |
Photography & Filming Permits
|
Permit Type |
Cost |
Notes |
|
Personal Photography |
Free |
No permit needed. |
|
Commercial Photography |
$100 – $250 |
Required for shoots involving models, props, or sets. |
|
Drone Photography |
Not Allowed |
Drones are strictly prohibited in the park. |
How to Apply
-
Permit applications must be submitted at least 30 days in advance for commercial photography.
-
Insurance proof may be required for commercial projects.
By following these guidelines, you’ll be well-prepared to capture the beauty of Colorado National Monument, whether during the golden glow of sunset or under a starlit sky.
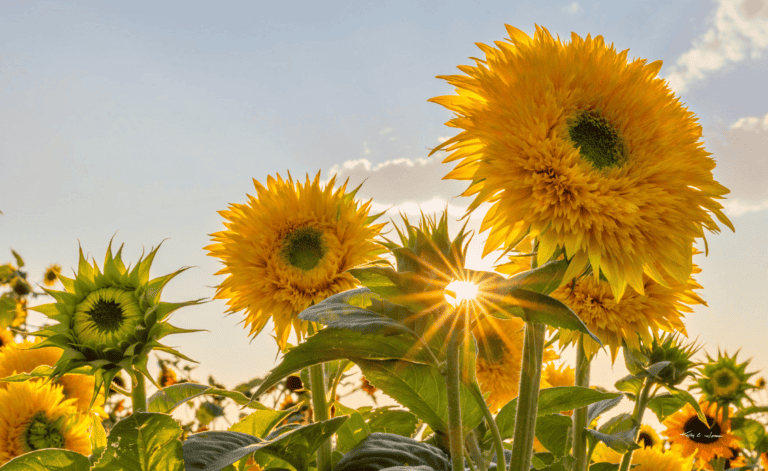
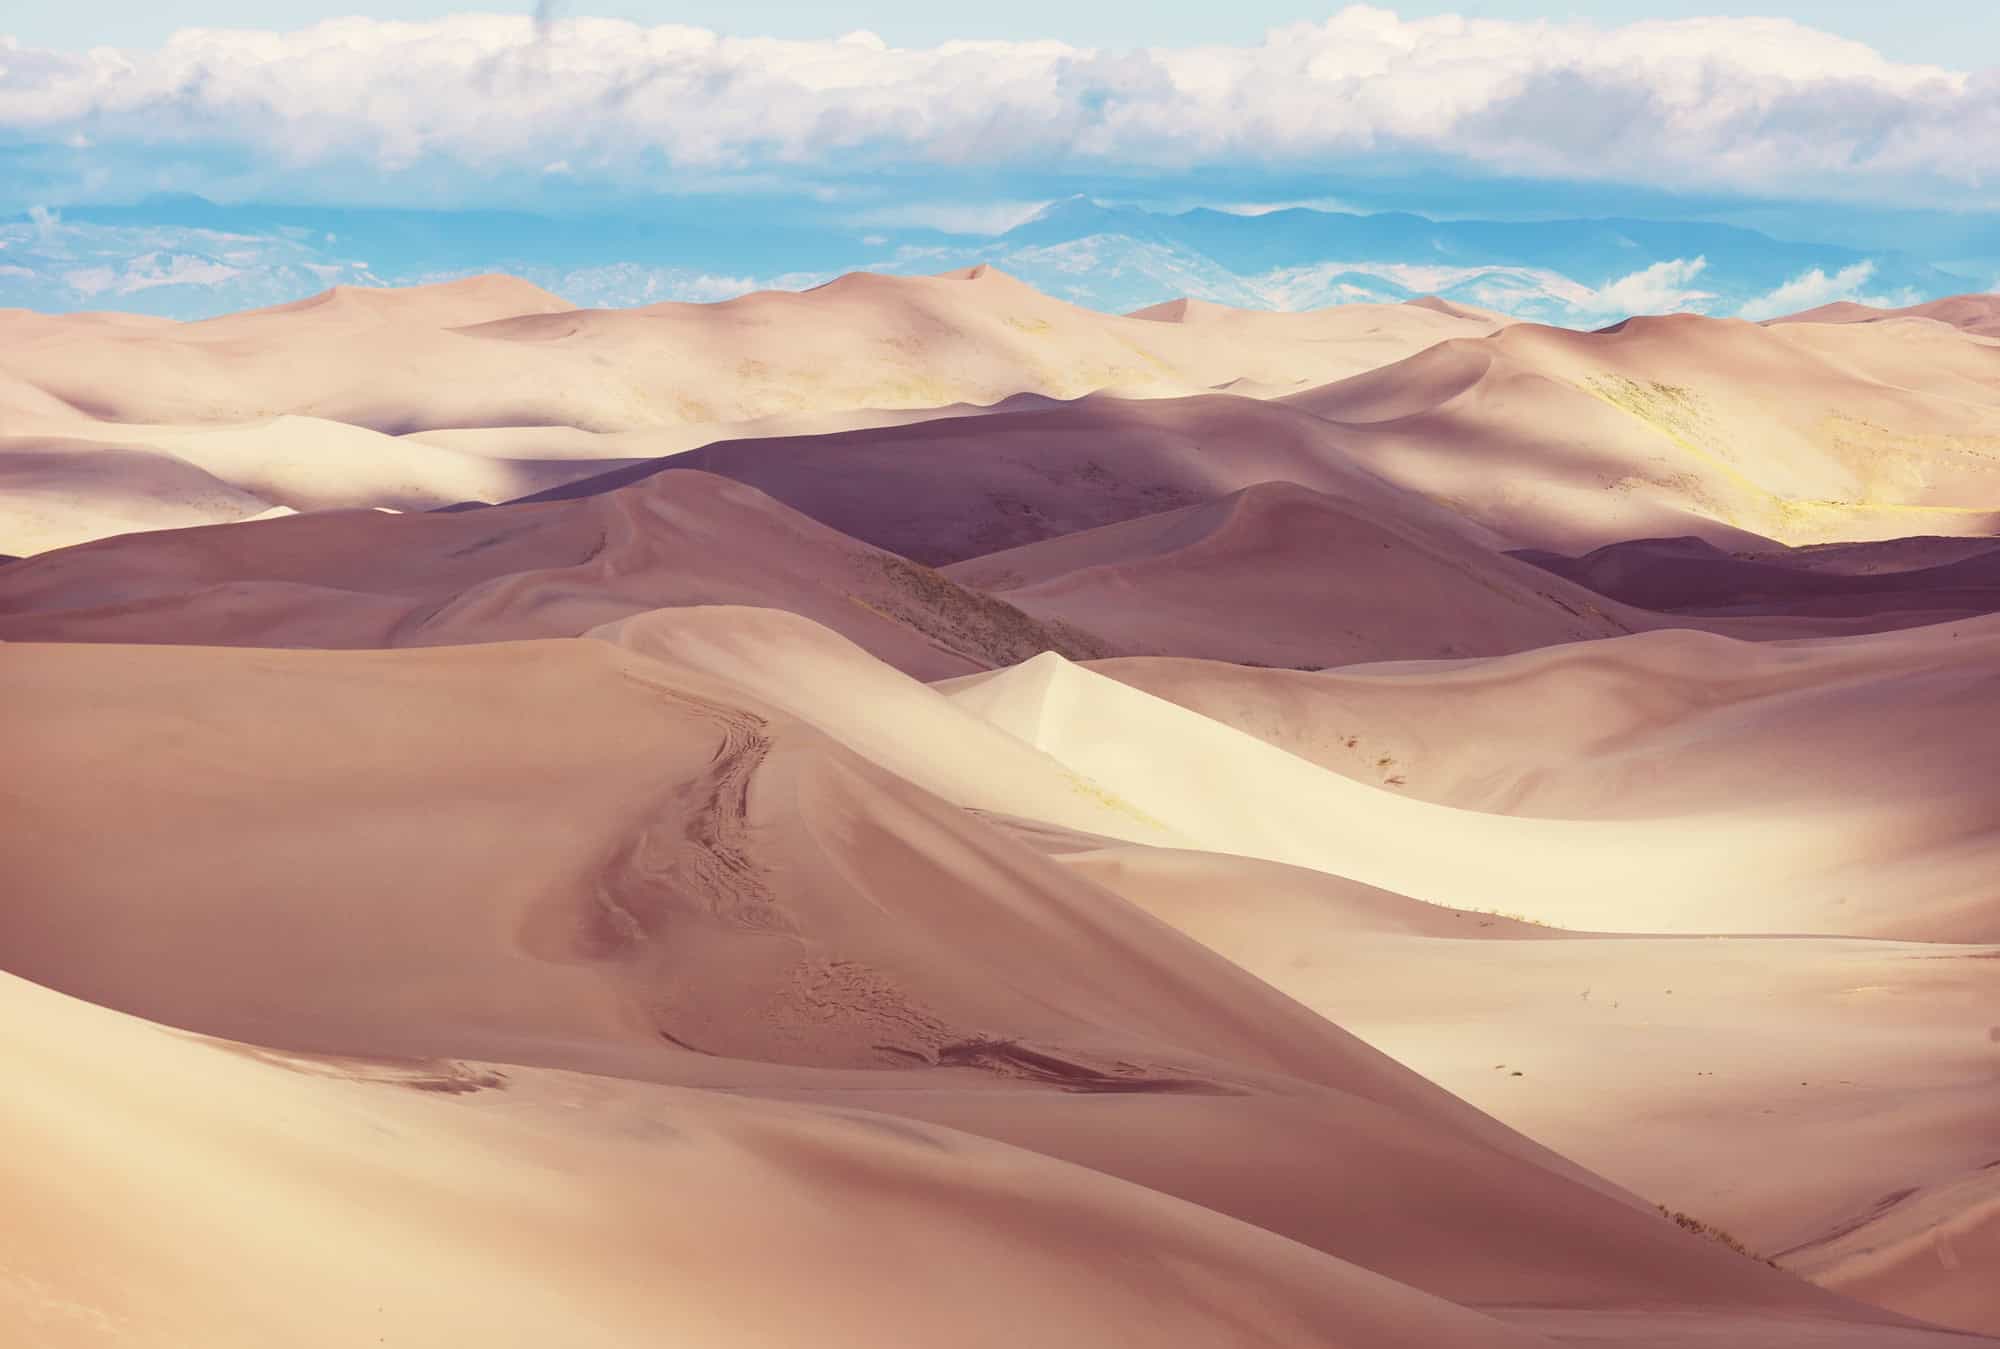
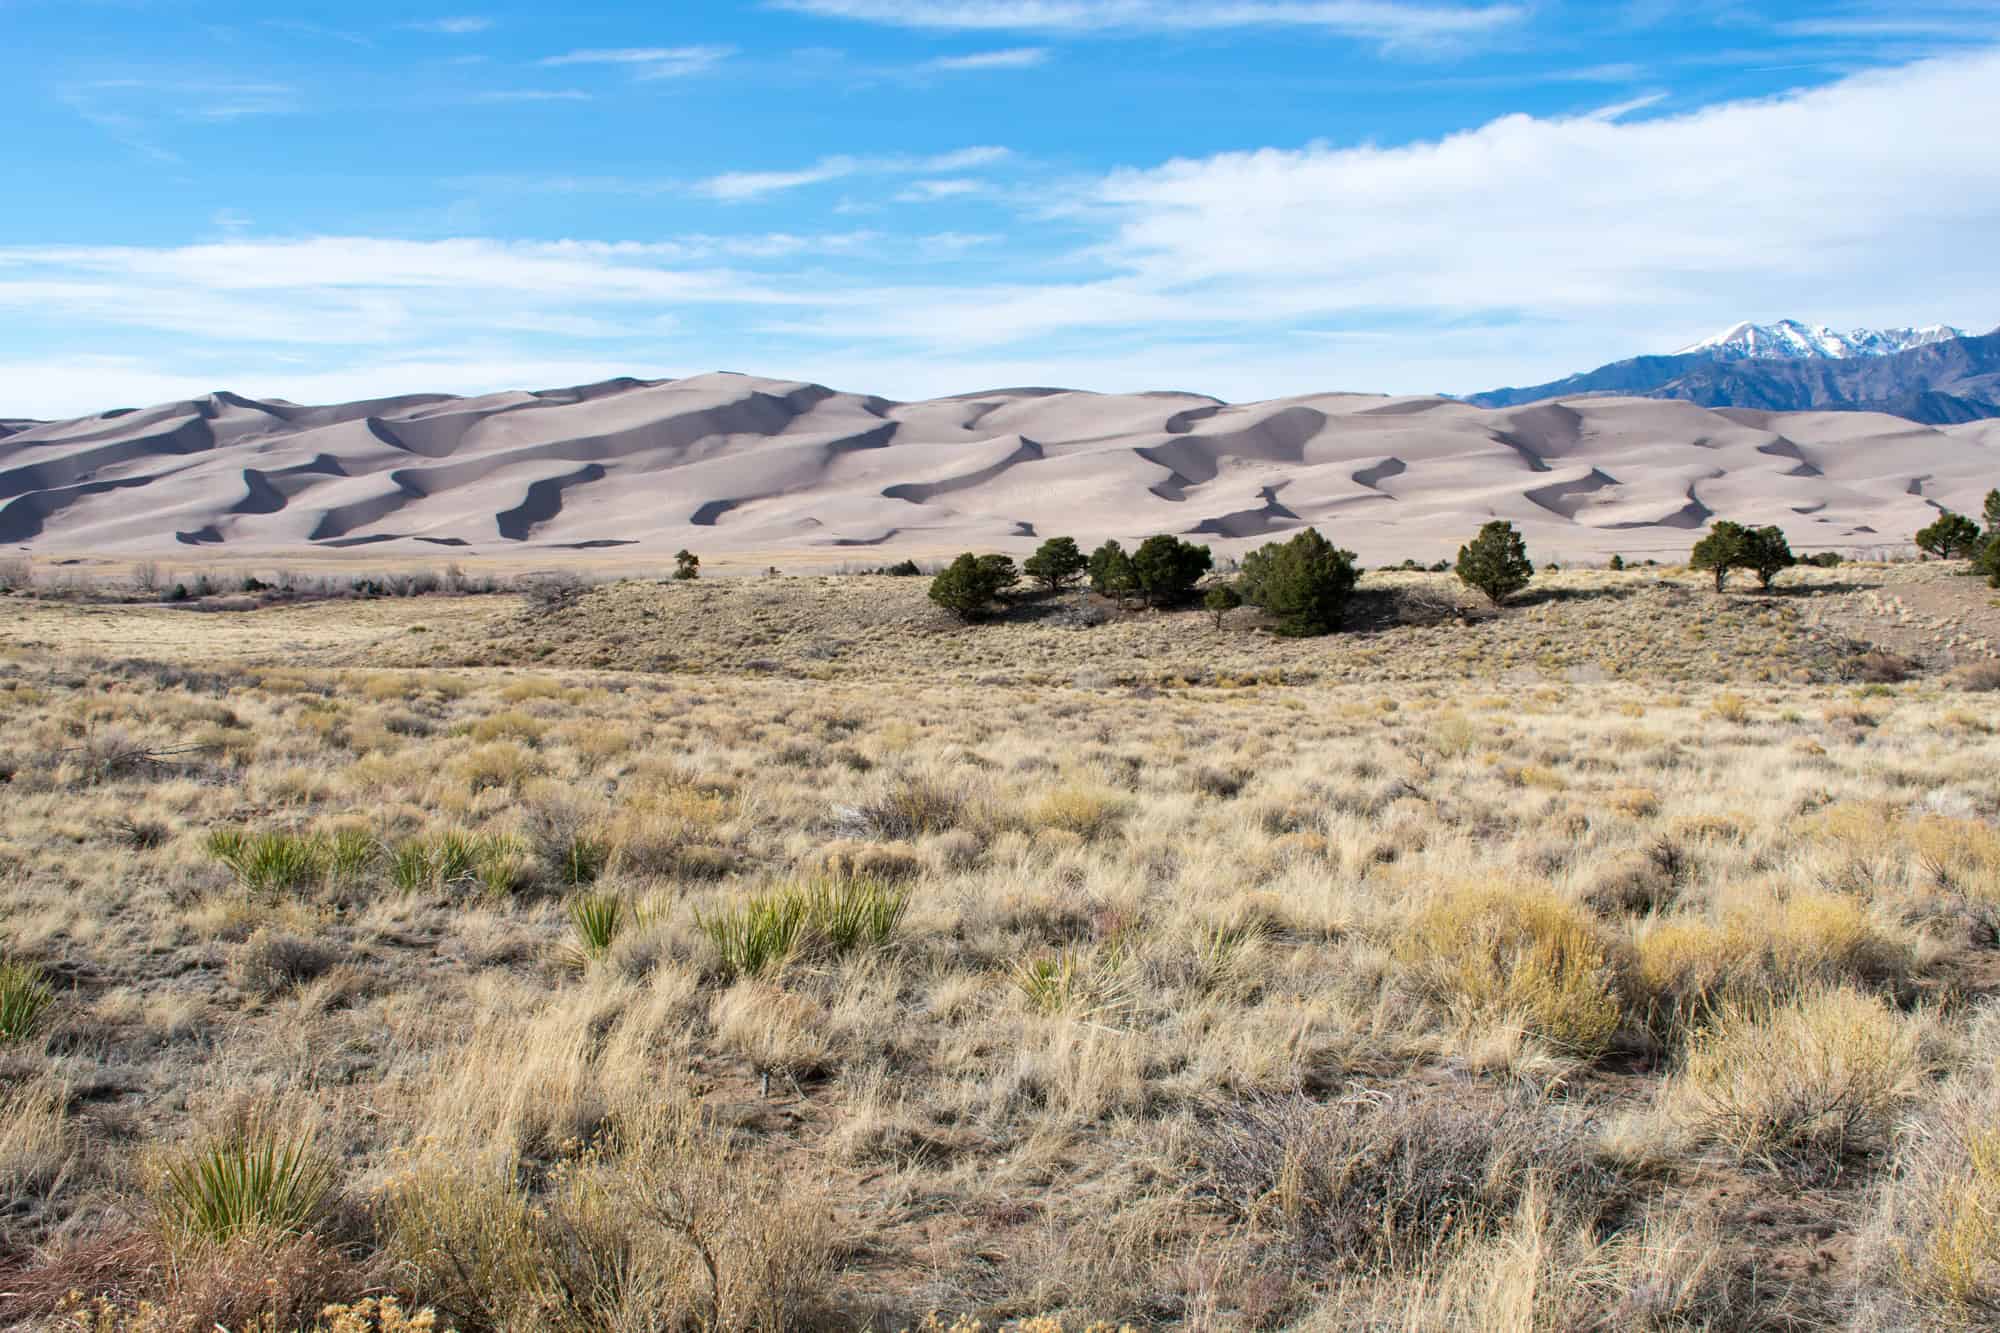
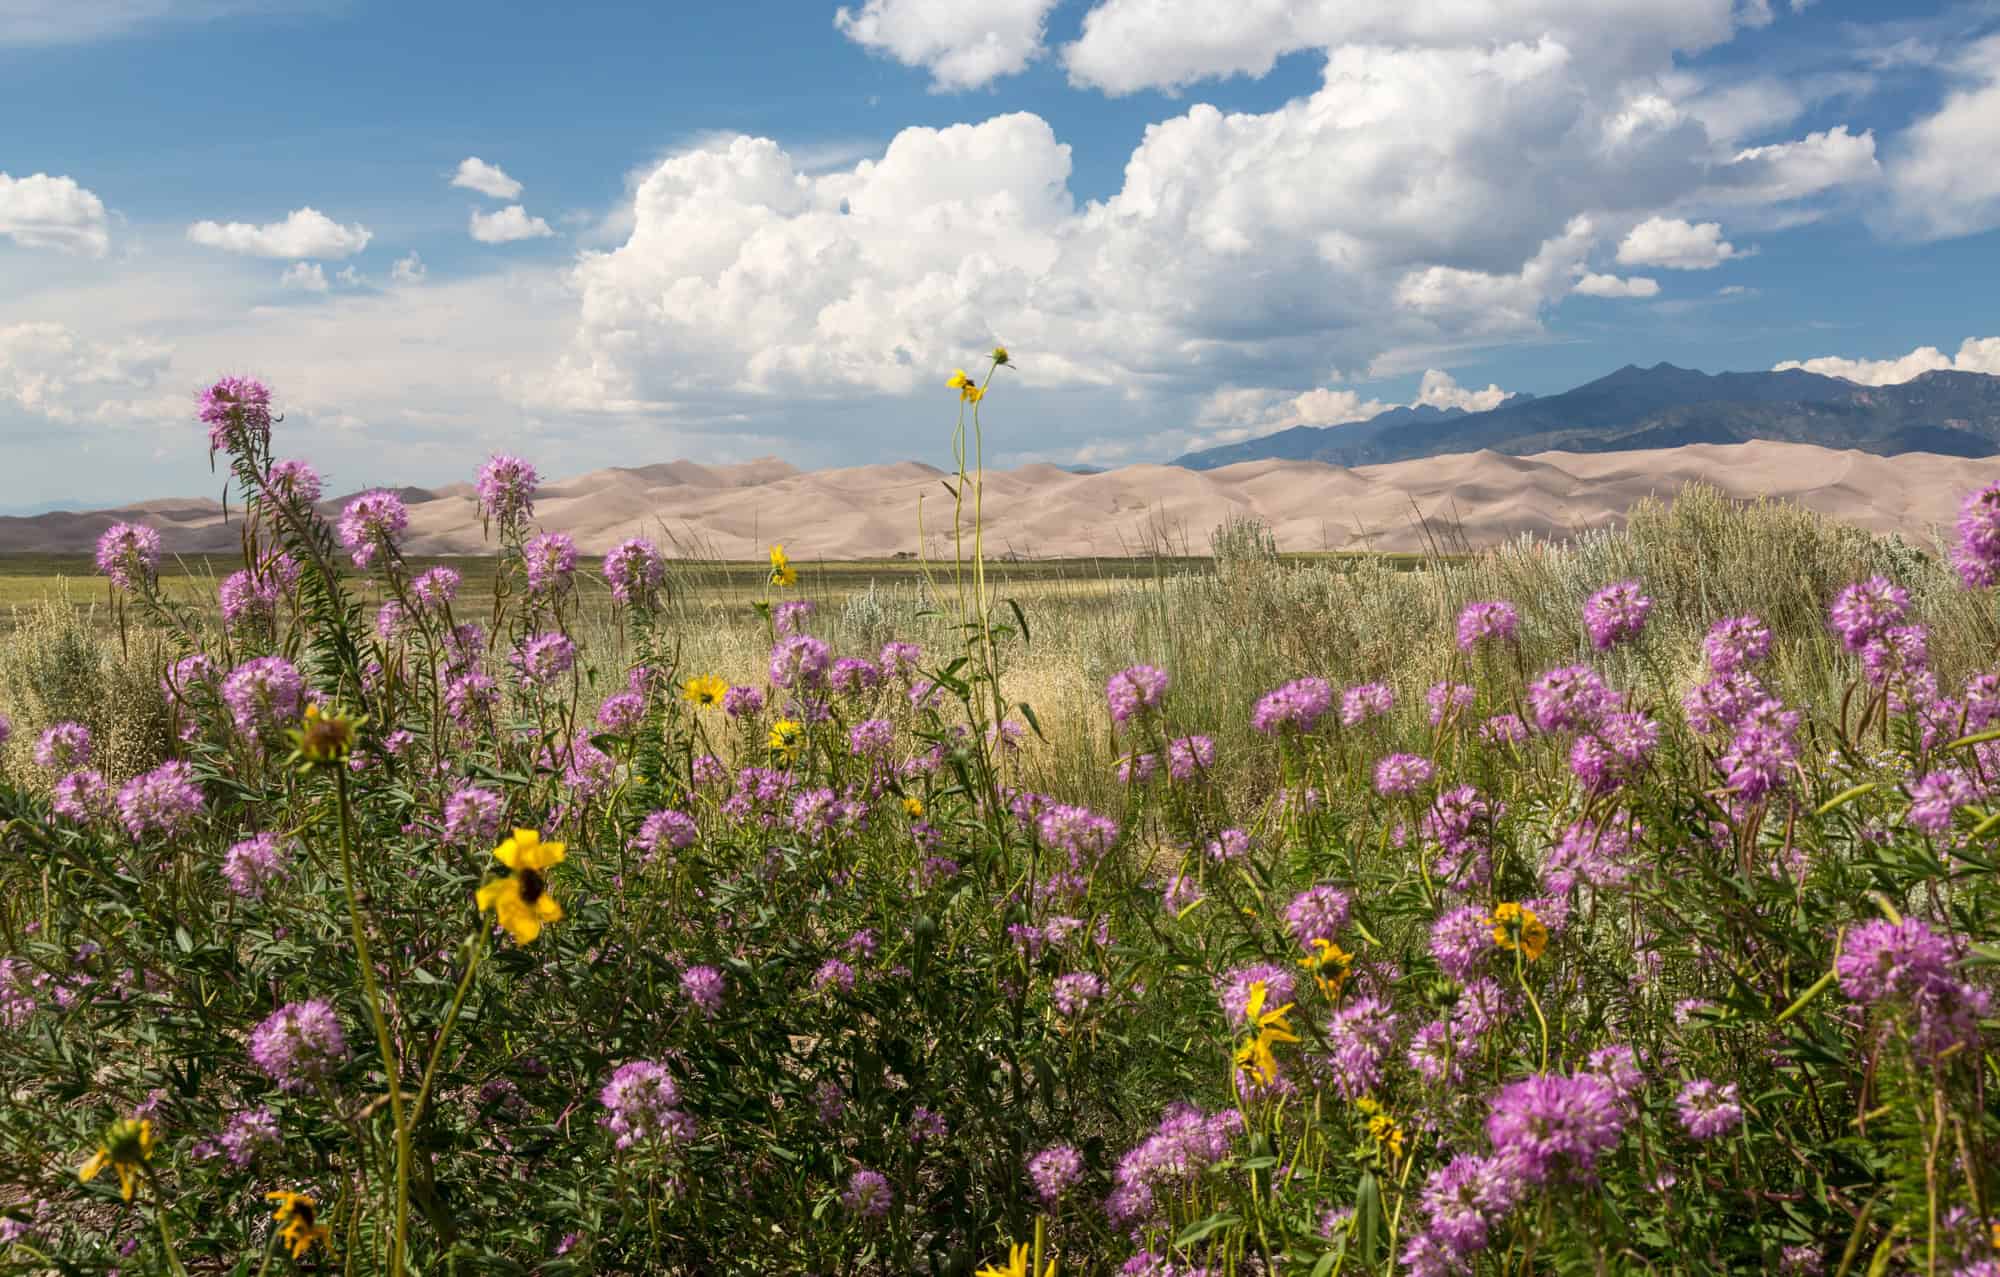
Great Sand Dunes National Park
Great Sand Dunes National Park is a landscape photographer’s dream, offering towering dunes, a dramatic mountain backdrop, and an ever-changing desert environment.
Home to the tallest sand dunes in North America, this park provides a unique blend of textures, lighting conditions, and vast open spaces that make for stunning compositions.
Whether you’re capturing the contrast between the dunes and the Sangre de Cristo Mountains, the shifting sands shaped by the wind, or wildlife near San Luis Lakes, this park delivers endless inspiration.
Top Photography Spots
Dunefield
The Great Sand Dunes’ massive dune field stretches over 30 square miles, offering endless photographic opportunities.
-
Best viewpoints: The High Dune and Star Dune provide the most expansive panoramic views.
-
Best time to shoot: Early morning or late afternoon to capture the changing textures of the dunes.
-
Pro tip: Use a telephoto lens to compress the dunes and emphasize their size.
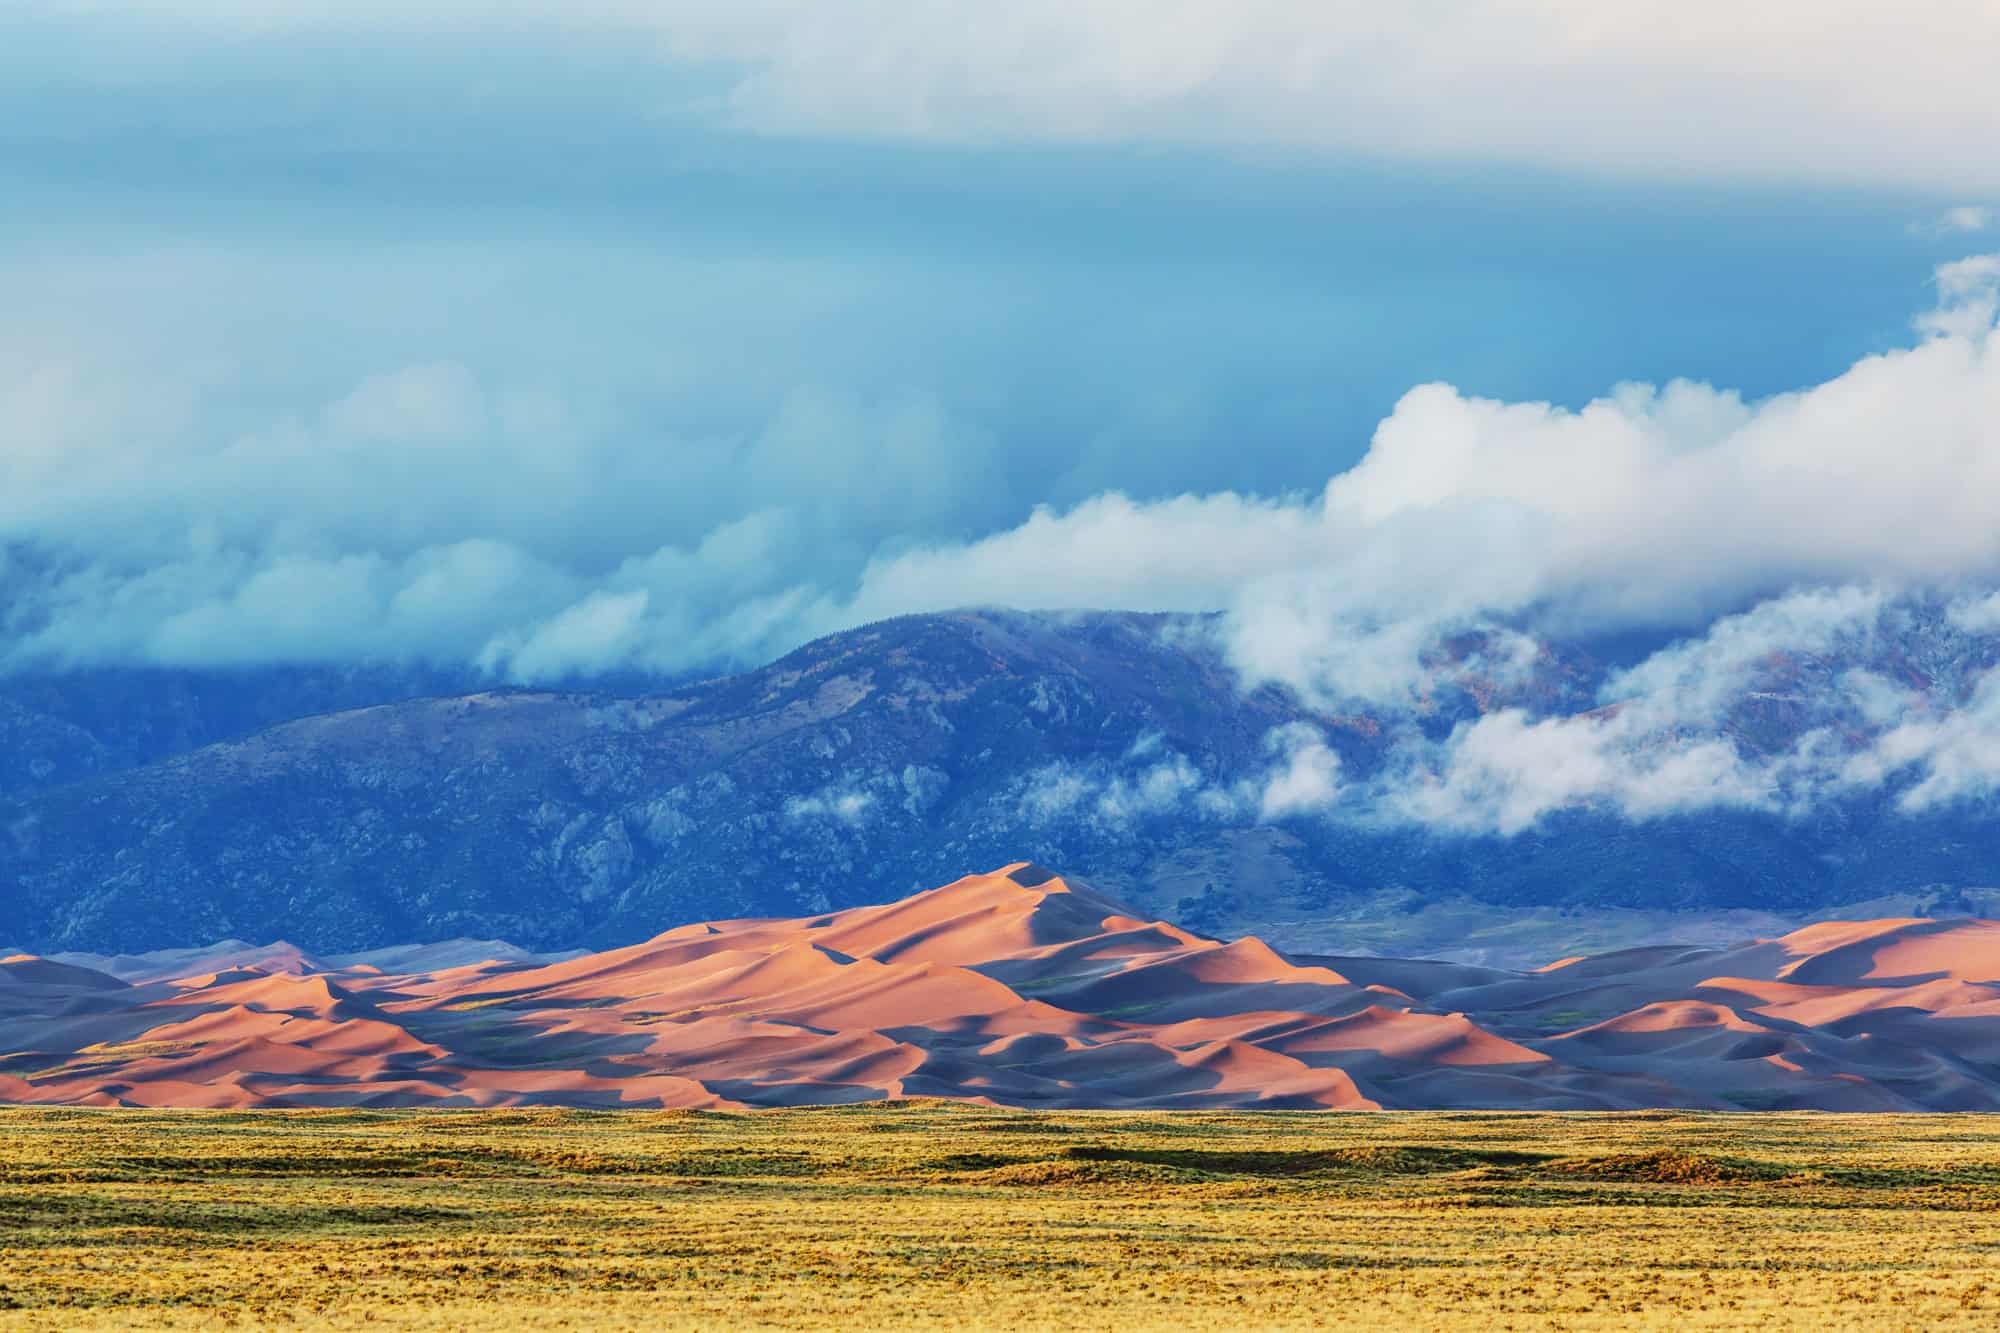
Sangre de Cristo Mountains
The Sangre de Cristo Mountains provide a striking contrast to the soft curves of the dunes.
-
Ideal conditions: Sunset and sunrise create dramatic alpenglow on the peaks.
-
Best composition: Position the dunes in the foreground with the mountains towering in the background.
-
Recommended lens: A wide-angle lens to capture the entire landscape.
San Luis Lakes State Wildlife Area
This lesser-known location offers incredible reflection shots and a chance to photograph migratory birds and local wildlife.
-
Best time to visit: Spring and early summer when water levels are higher.
-
Wildlife sightings: Expect to see sandhill cranes, deer, and even coyotes.
-
Pro tip: Use a polarizing filter to enhance reflections and sky contrast.
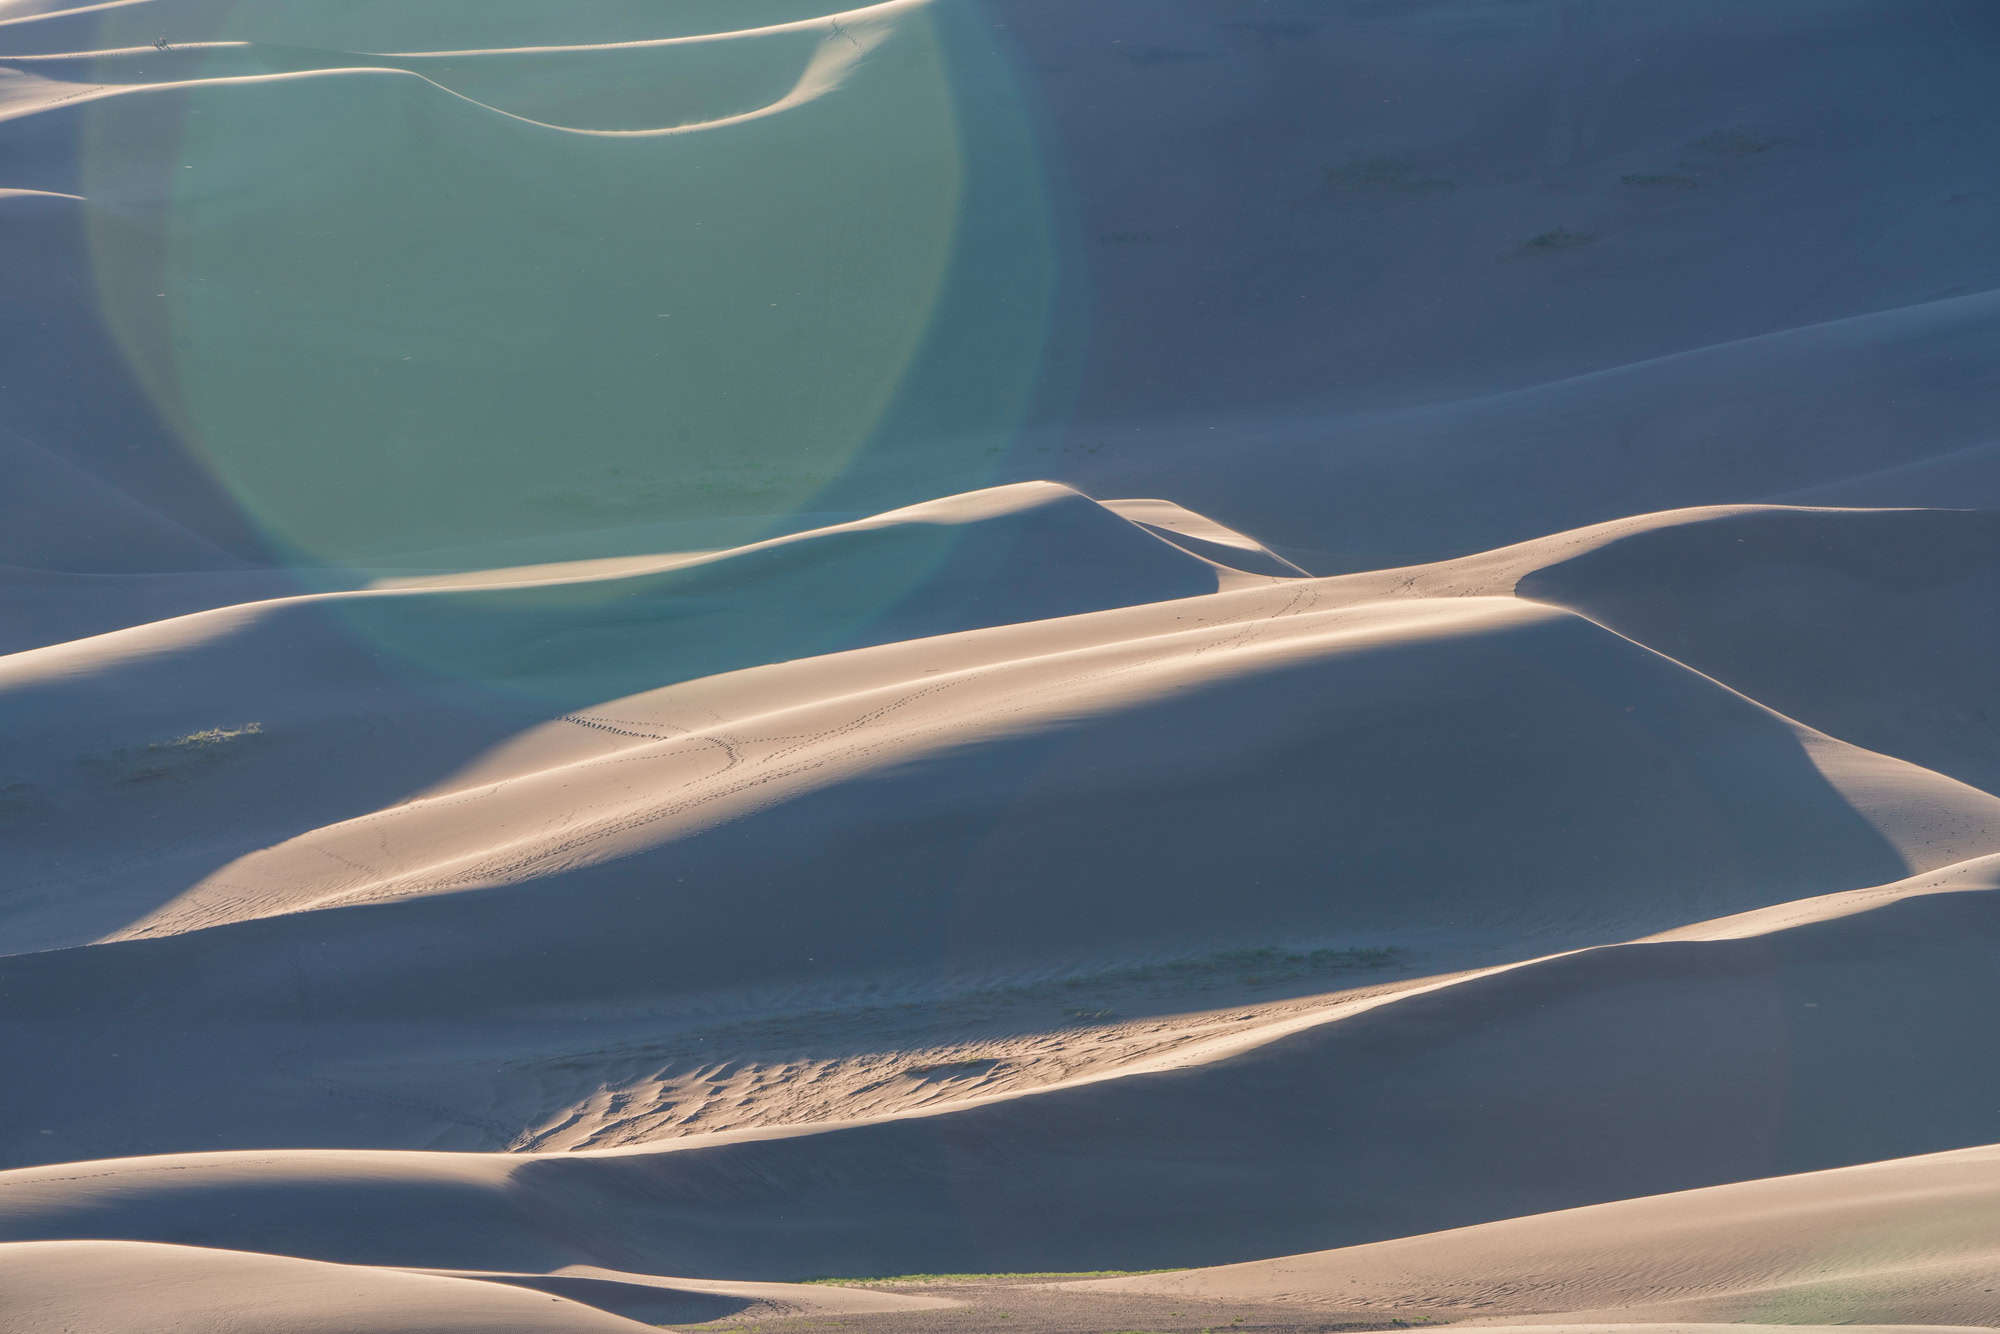
Capturing the Movement of Sand
One of the most dynamic elements of Great Sand Dunes is the way the wind constantly reshapes the landscape. Capturing this motion requires a thoughtful approach to composition and exposure settings.
How to Photograph Wind-Sculpted Dunes
-
Use a fast shutter speed (1/500s or higher) to freeze grains of sand in motion.
-
A slower shutter speed (1/10s – 1/50s) can create a subtle motion blur effect in the drifting sand.
-
Look for natural patterns and ridges created by the wind to add texture.
Using Leading Lines and Shadows for Depth
-
Curved dune ridges make excellent leading lines to guide the eye.
-
Sharp shadows at sunrise and sunset enhance depth and contrast.
-
Position yourself at an angle to the light to emphasize the sharpest dunes’ edges.
Timing for Best Light
Lighting is critical for capturing the shifting tones and depth of the dunes.
Sunrise – Cool Tones and Long Shadows
-
Why shoot at sunrise?
-
The dunes take on soft pastel hues.
-
Long shadows emphasize the textures and patterns in the sand.
-
-
Ideal settings:
-
ISO 100-200 for minimal noise.
-
Aperture f/8-f/11 for sharp focus.
-
Shutter speed varies based on lighting and movement.
-
Sunset – Golden Hues on the Dunes
-
Why shoot at sunset?
-
The dunes glow with deep gold and orange tones.
-
The sky provides a dramatic color gradient.
-
-
Pro tip: Position yourself facing west for the most vibrant colors.
Permits Needed
Before heading out to Great Sand Dunes National Park, ensure you’re aware of the permit requirements for photography and entry.
Photography & Filming Permits
-
Personal Photography: No permit required
-
Commercial Photography: $100 – $250 (Required for photoshoots involving models, props, or advertising)
-
Drone Photography: Not allowed (Drones are strictly prohibited in the park)
How to Apply for a Permit
-
Submit applications at least 30 days in advance for commercial photography.
-
Contact the park office for special requests like wedding or event photography.
By following these guidelines, you’ll be fully prepared to capture the surreal beauty of Great Sand Dunes National Park, from its towering dunes to its star-filled night skies.
FAQs
Here are answers to some of the most common questions about photographing Colorado’s national parks.
What Camera Gear is Best for National Park Photography?
The right gear depends on your photography style, but some essentials include:
-
DSLR or Mirrorless Camera – For high-quality images and flexibility.
-
Wide-Angle Lens (14-24mm) – Ideal for landscapes and night photography.
-
Telephoto Lens (100-400mm) – Perfect for wildlife photography from a safe distance.
-
Tripod – Essential for long exposures and low-light shots.
-
ND & Polarizing Filters – Helps reduce glare and enhance colors.
Are Drones Allowed in National Parks?
No, drones are prohibited in all U.S. National Parks, including those in Colorado. However, special permits may be available for research or authorized projects.
What’s the Best Time of Year for Photography in Colorado’s National Parks?
-
Spring (April – June): Wildflowers bloom, and wildlife is active.
-
Fall (September – October): Stunning autumn foliage and elk rut in RMNP.
-
Winter (November – February): Unique snow-covered landscapes and fewer crowds.
How Do I Protect My Camera in Extreme Weather?
-
Cold Weather: Use hand warmers and keep batteries warm to prevent drain.
-
Sand & Wind: Use a weather-sealed camera bag and a lens hood.
-
Rain & Snow: Bring a waterproof cover to protect gear.
Where Can I Find Real-Time Weather Updates for National Parks?
-
NPS Website: Provides up-to-date conditions for each park.
-
NOAA Weather App: Offers live forecasts and alerts.
-
Visitor Centers: Always check with rangers for real-time updates.
Conclusion
Exploring Colorado’s national parks with a camera is an unforgettable experience. Whether you’re capturing the towering peaks of Rocky Mountain National Park, the canyon depths of Colorado National Monument, or the golden dunes of Great Sand Dunes, each location offers endless creative opportunities.
Before heading out, remember to:
-
Plan your timing for the best lighting conditions.
-
Bring the right gear to capture landscapes and wildlife.
-
Follow park regulations to ensure a safe and respectful visit.
We’d love to see your best shots! Share your photos and connect with other photographers by following Longmont Ledger for more travel guides, photography tips, and hidden gems across Colorado.